

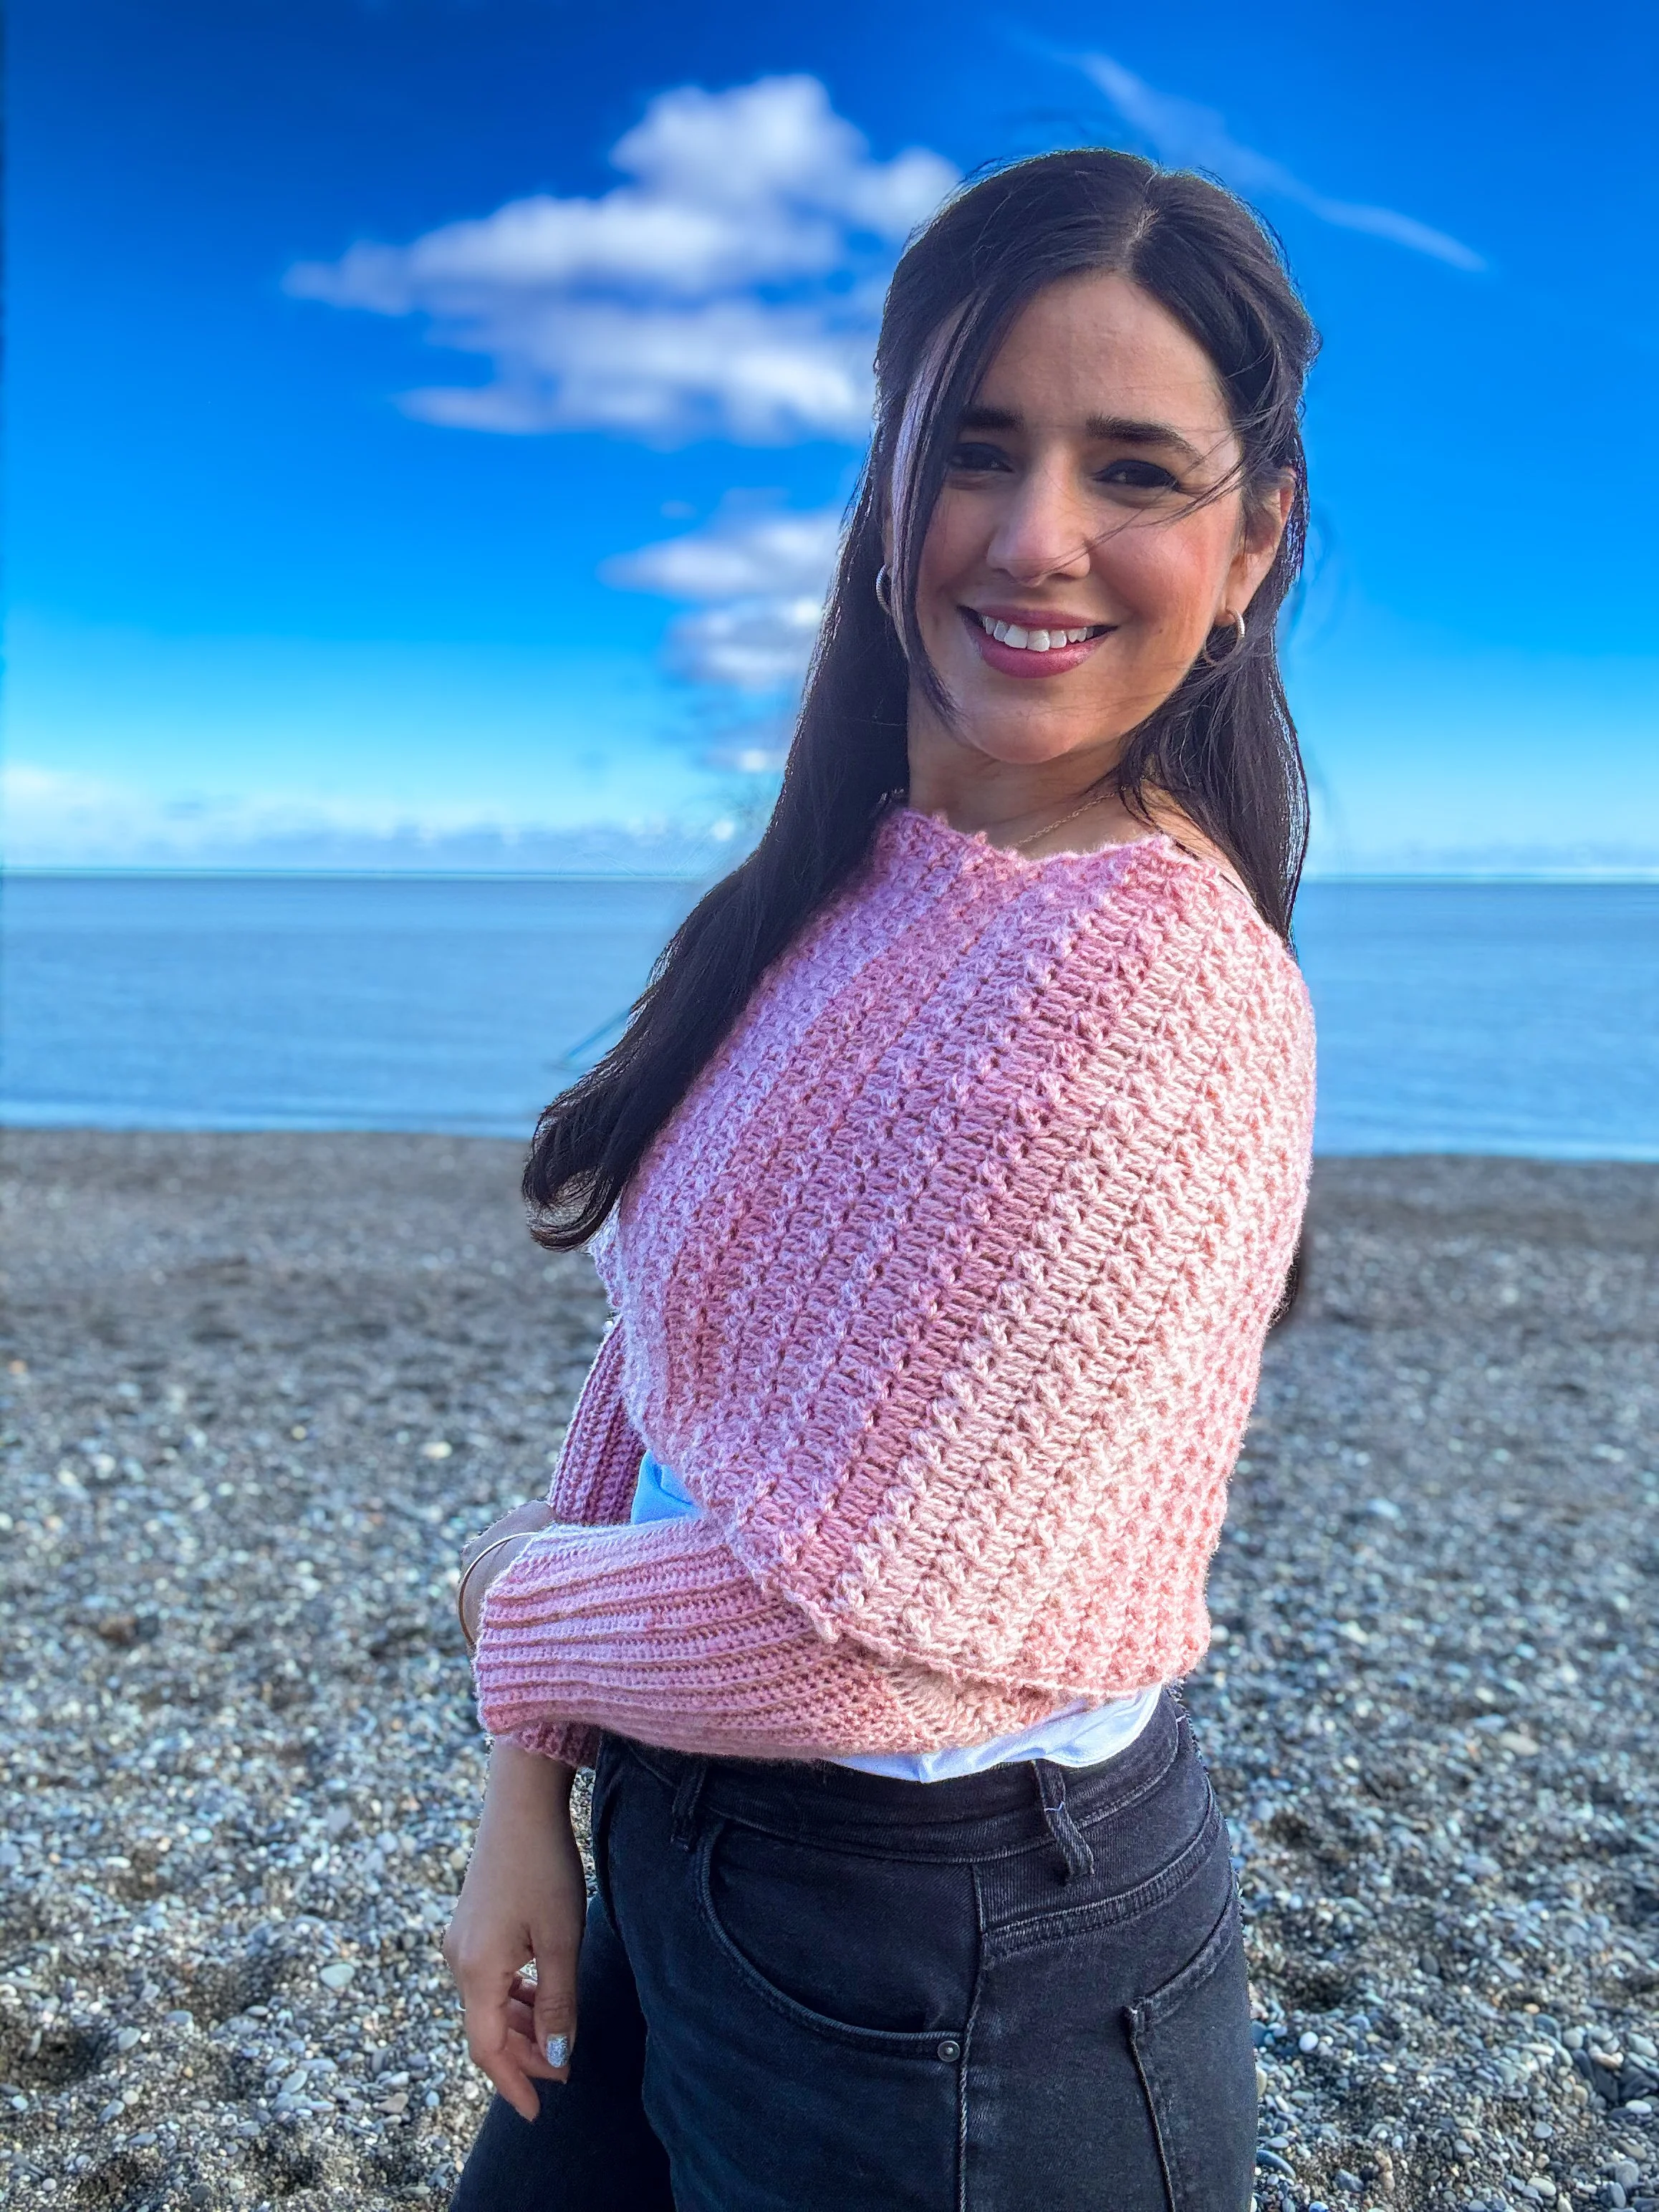
Crochet Sweater Scarf
The Jade Sweater Scarf is the perfect blend of cozy warmth and effortless style! This the perfect crochet pattern to create a warm and cozy sweater scarf . This pattern features a combination of two classic stitches that worked in a different way create a classic and timeless look. It's a one-piece pattern, making it easy and convenient to crochet, even for beginners.

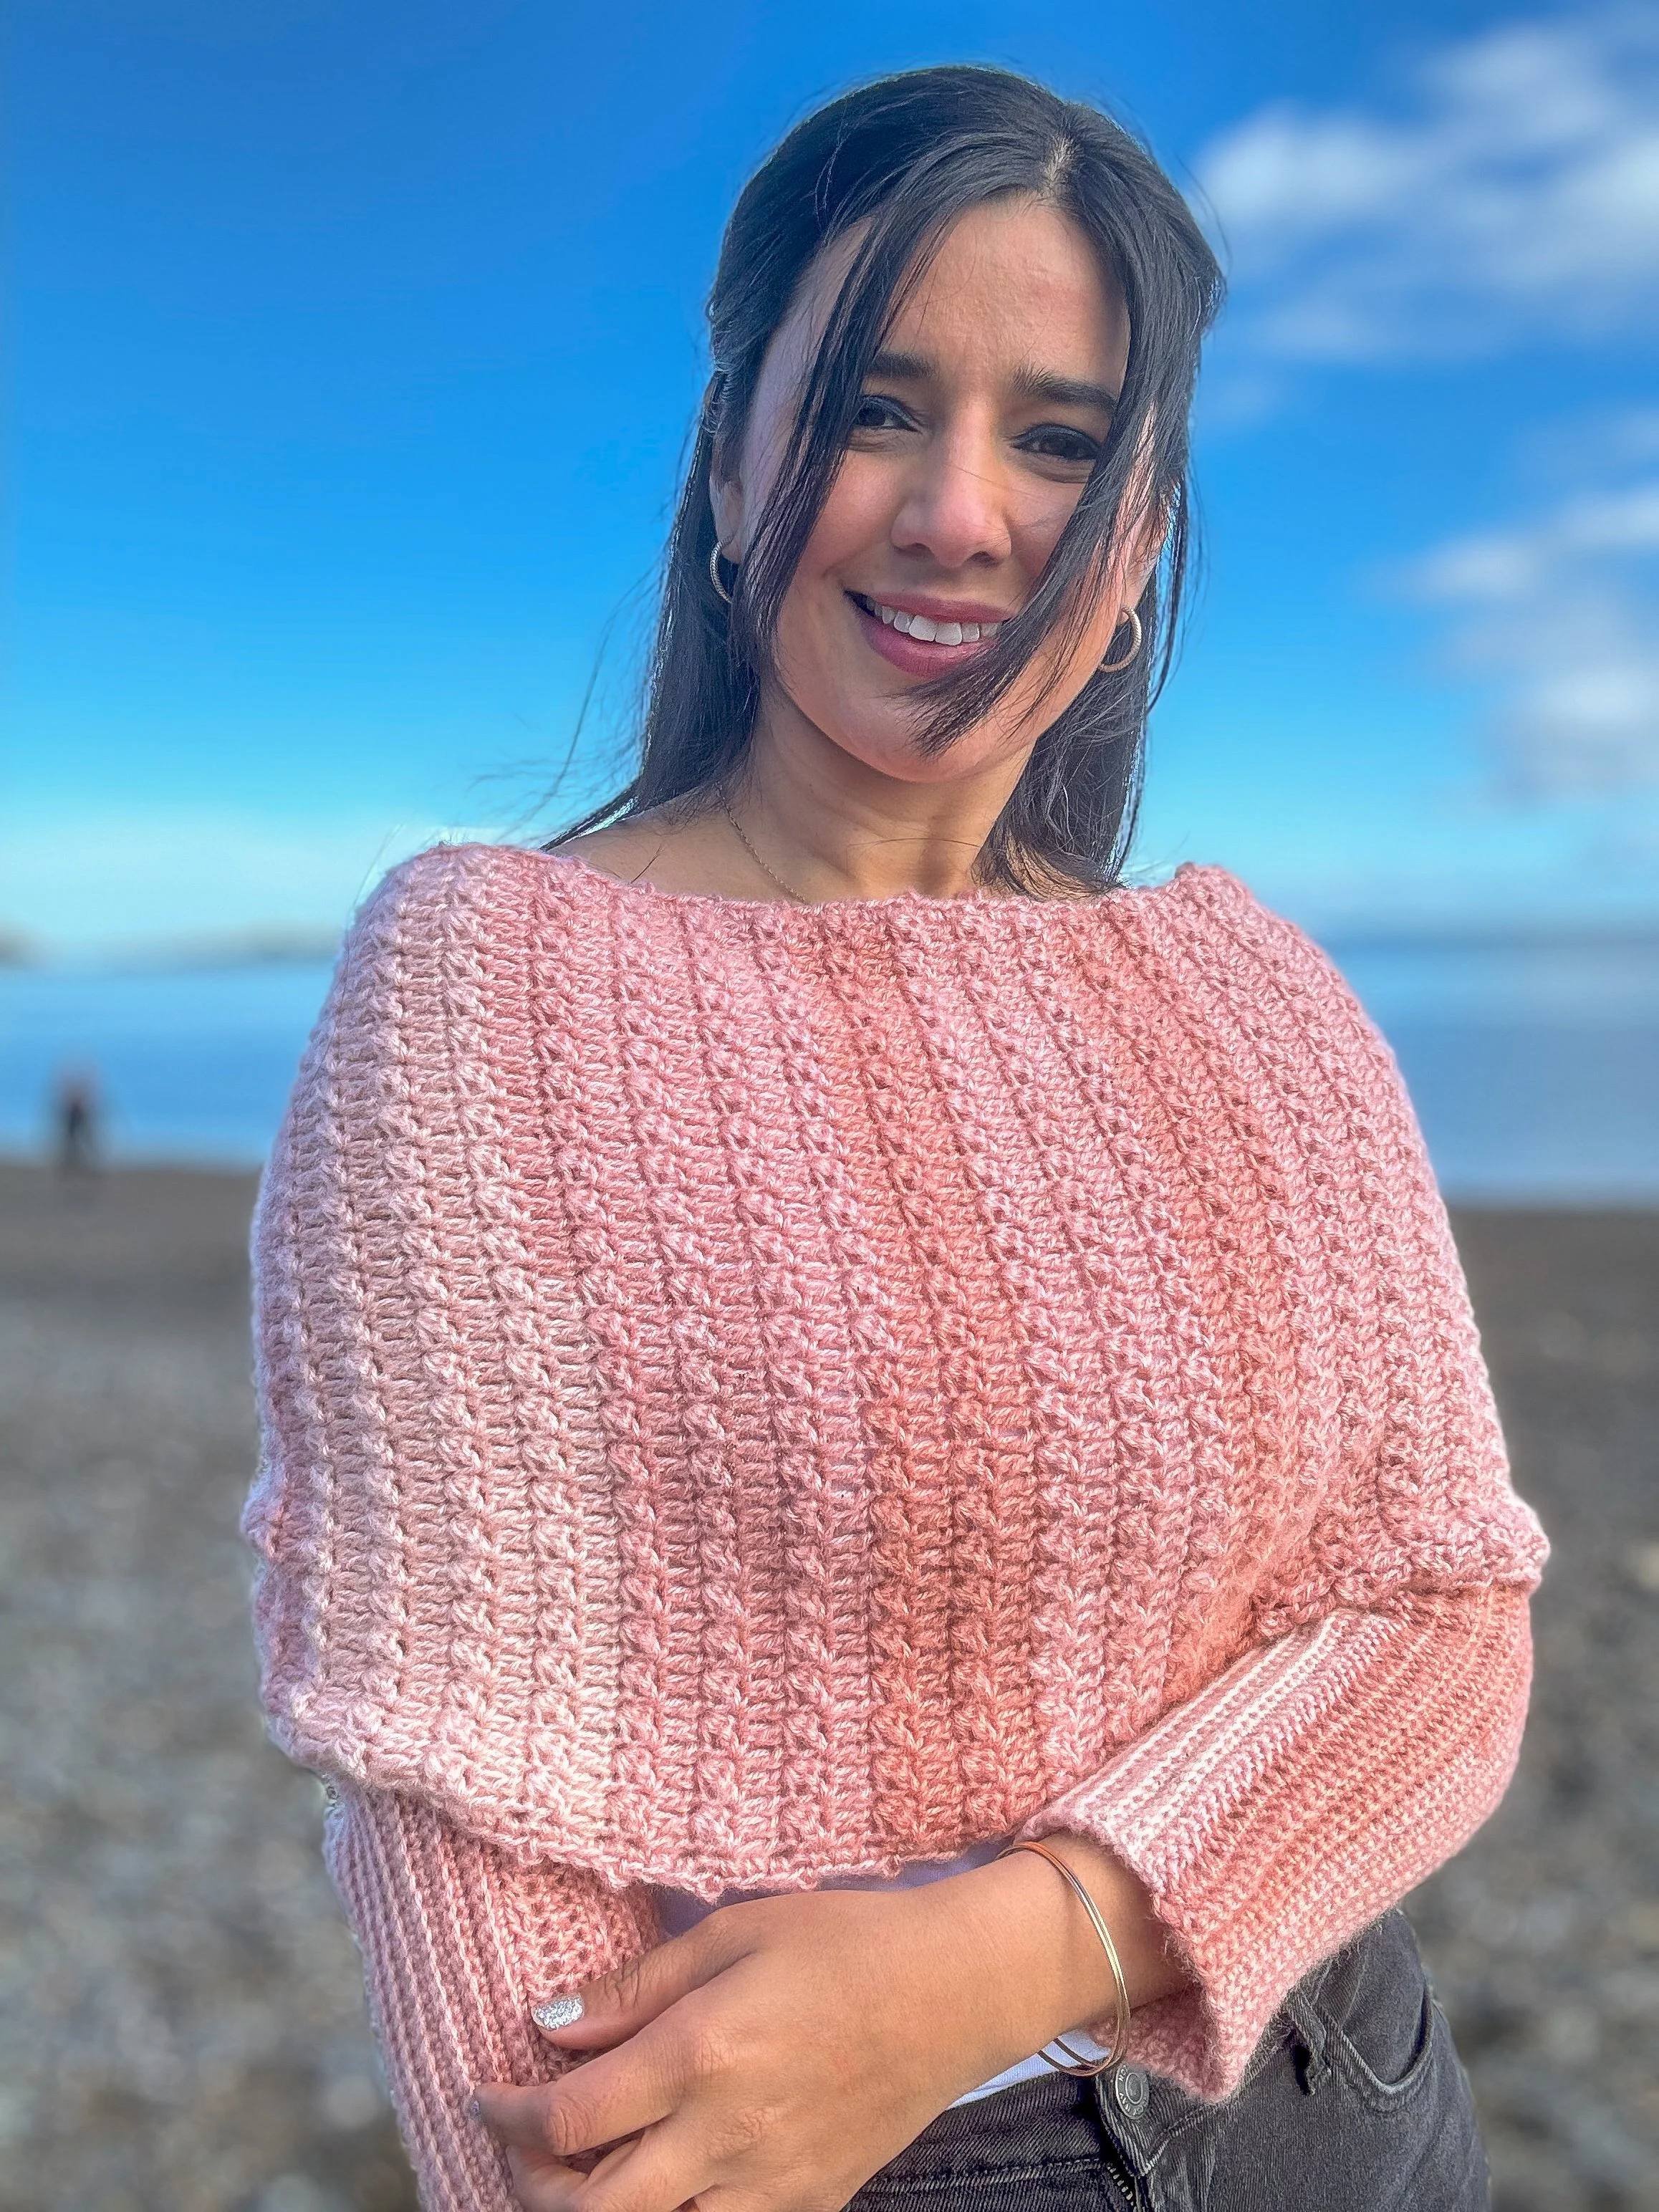
Are you looking for a stylish, beginner-friendly crochet project that blends warmth, versatility, and elegance? The Jade Scarf Sweater is the perfect pattern to add to your handmade wardrobe! With its unique design that combines a classic scarf with cozy sleeves, this crochet piece is both practical and effortlessly chic. Whether you're layering up for a chilly winter day or seeking a lightweight cover-up for breezy autumn evenings, this pattern has you covered—literally!
Why You'll Love the Jade Scarf Sweater
✅ Beginner-Friendly: This pattern is simple and easy to follow, making it perfect for those just starting their crochet journey.
✅ One-Piece Construction: No seaming or complex assembly—just a straightforward, relaxing crochet experience.
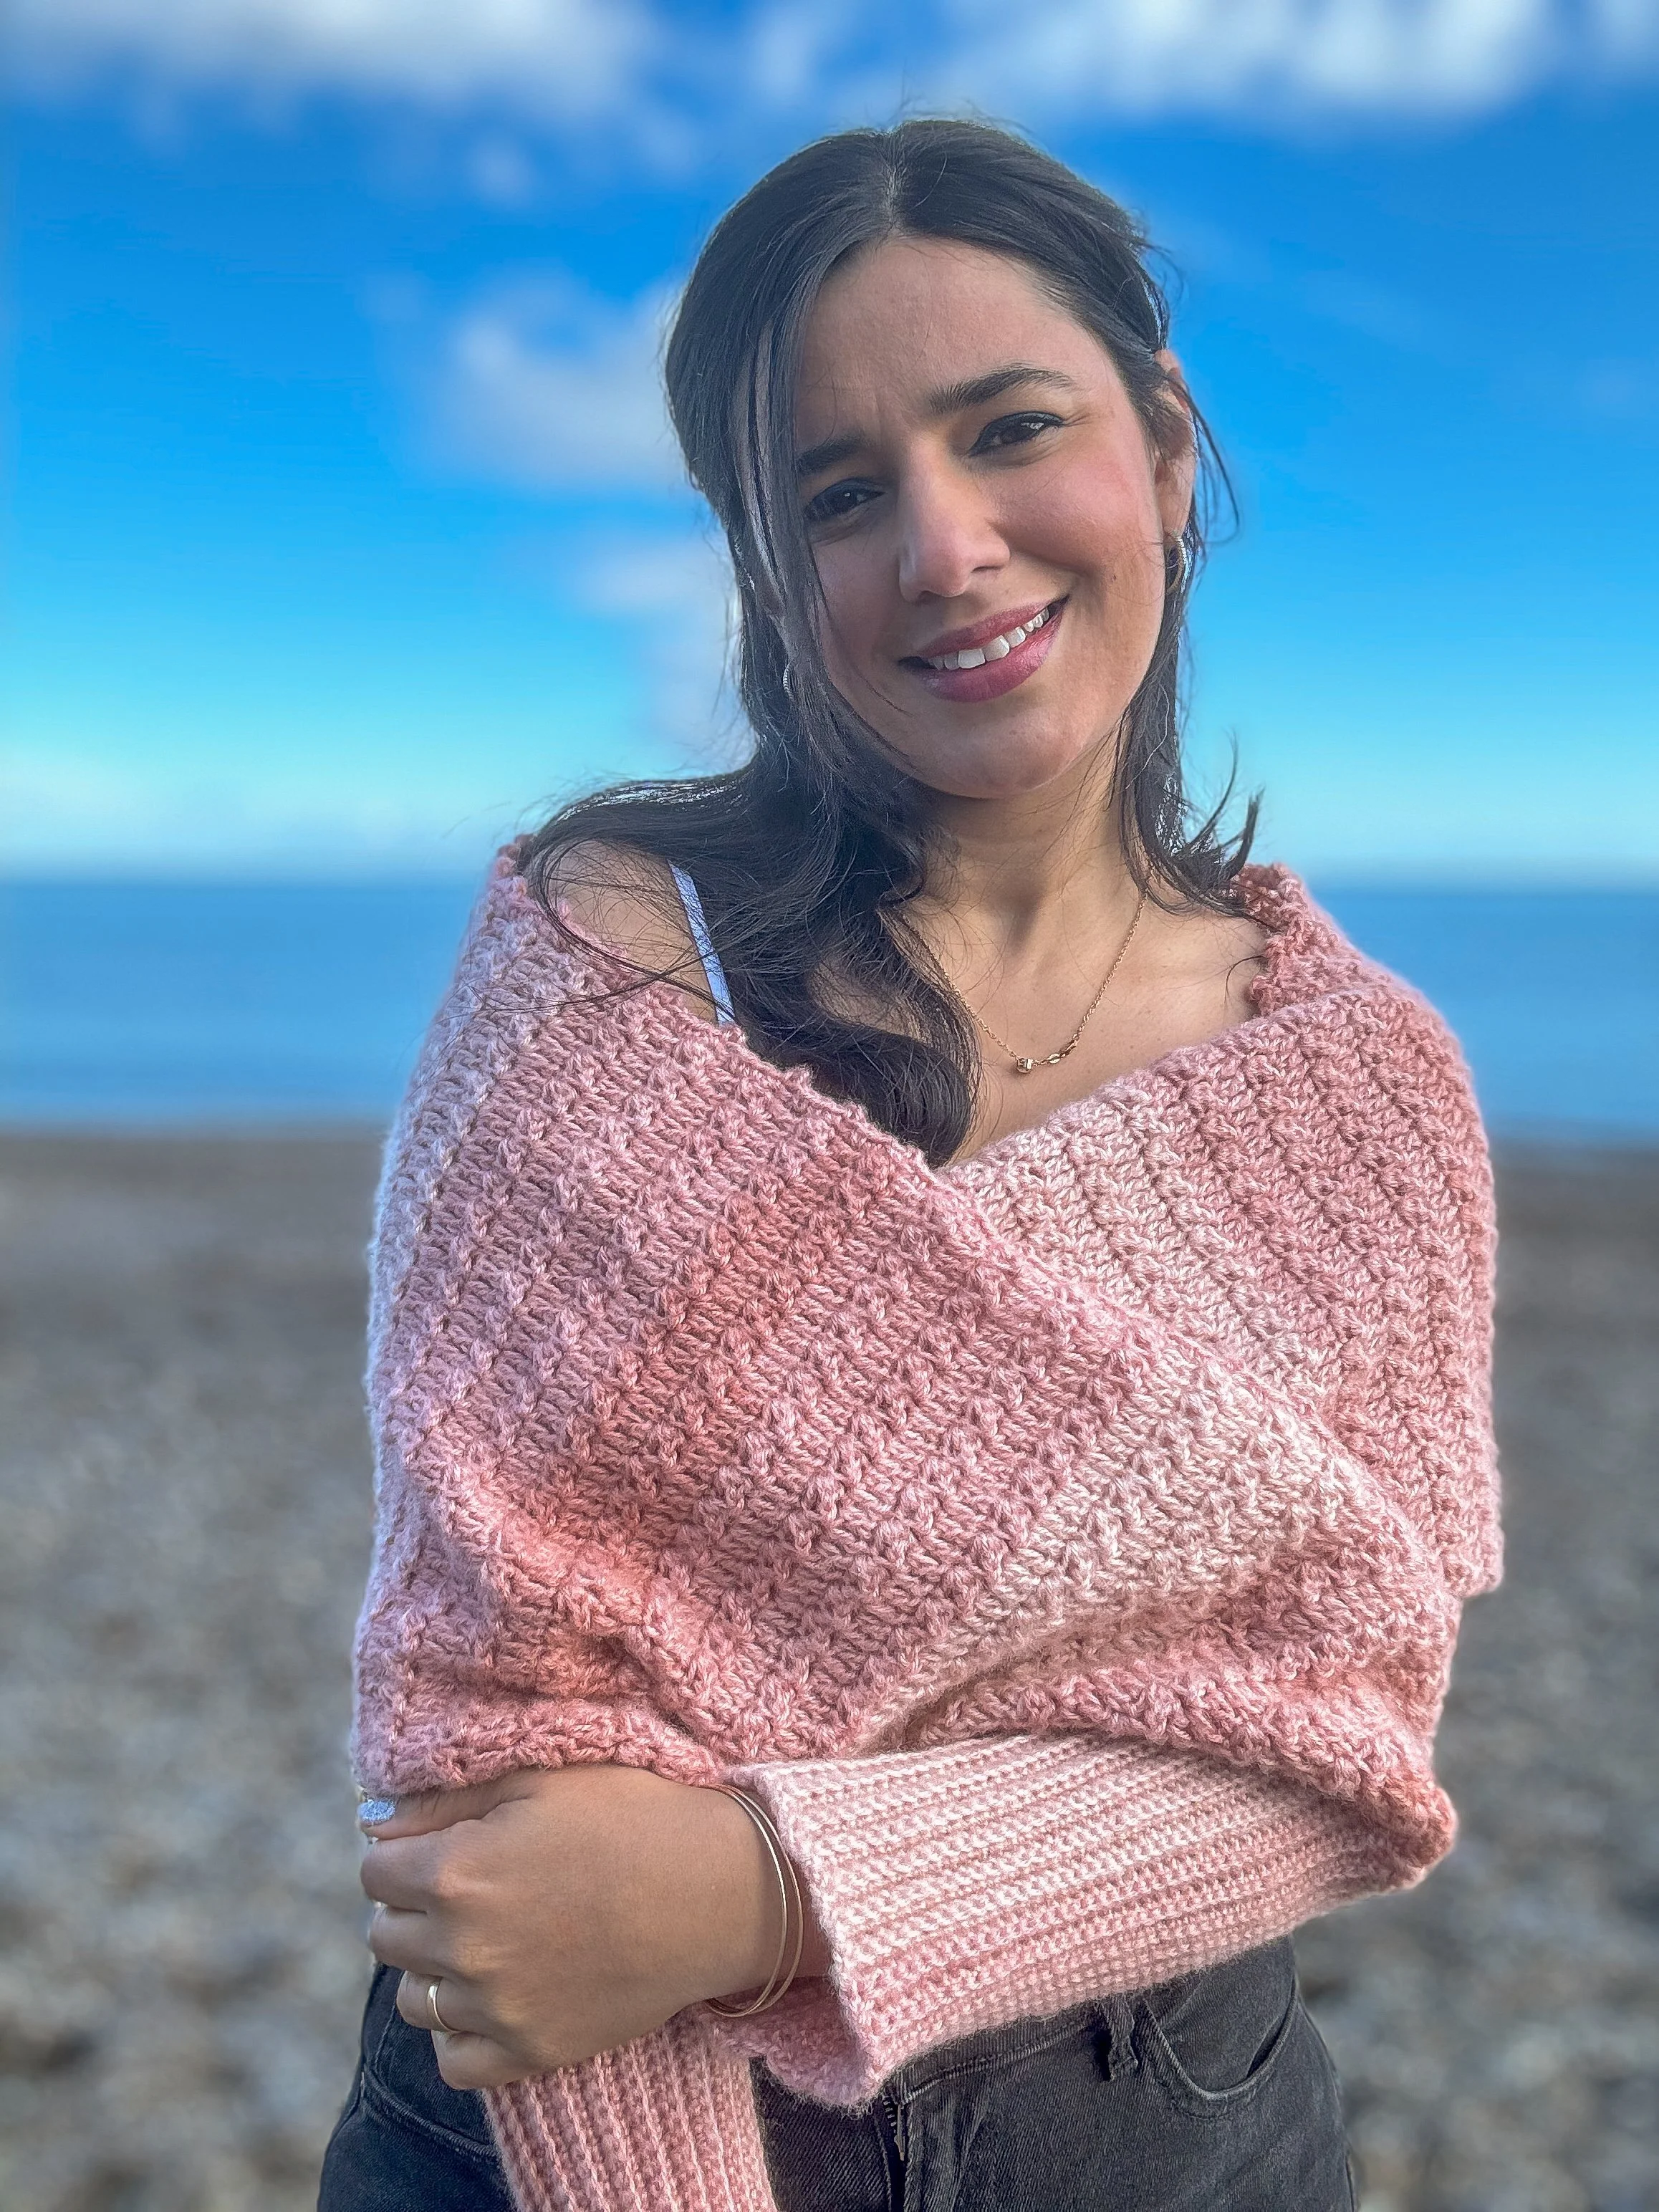
✅ Versatile Styling: Wear it draped over your shoulders, belt it for a fitted look, or throw it on over a long-sleeve tee for effortless layering.
✅ Customizable Fit: With five available sizes (XS-XXL) and an adjustable design, you can easily tailor it to your perfect fit.
What Makes the Jade Scarf Sweater Special?
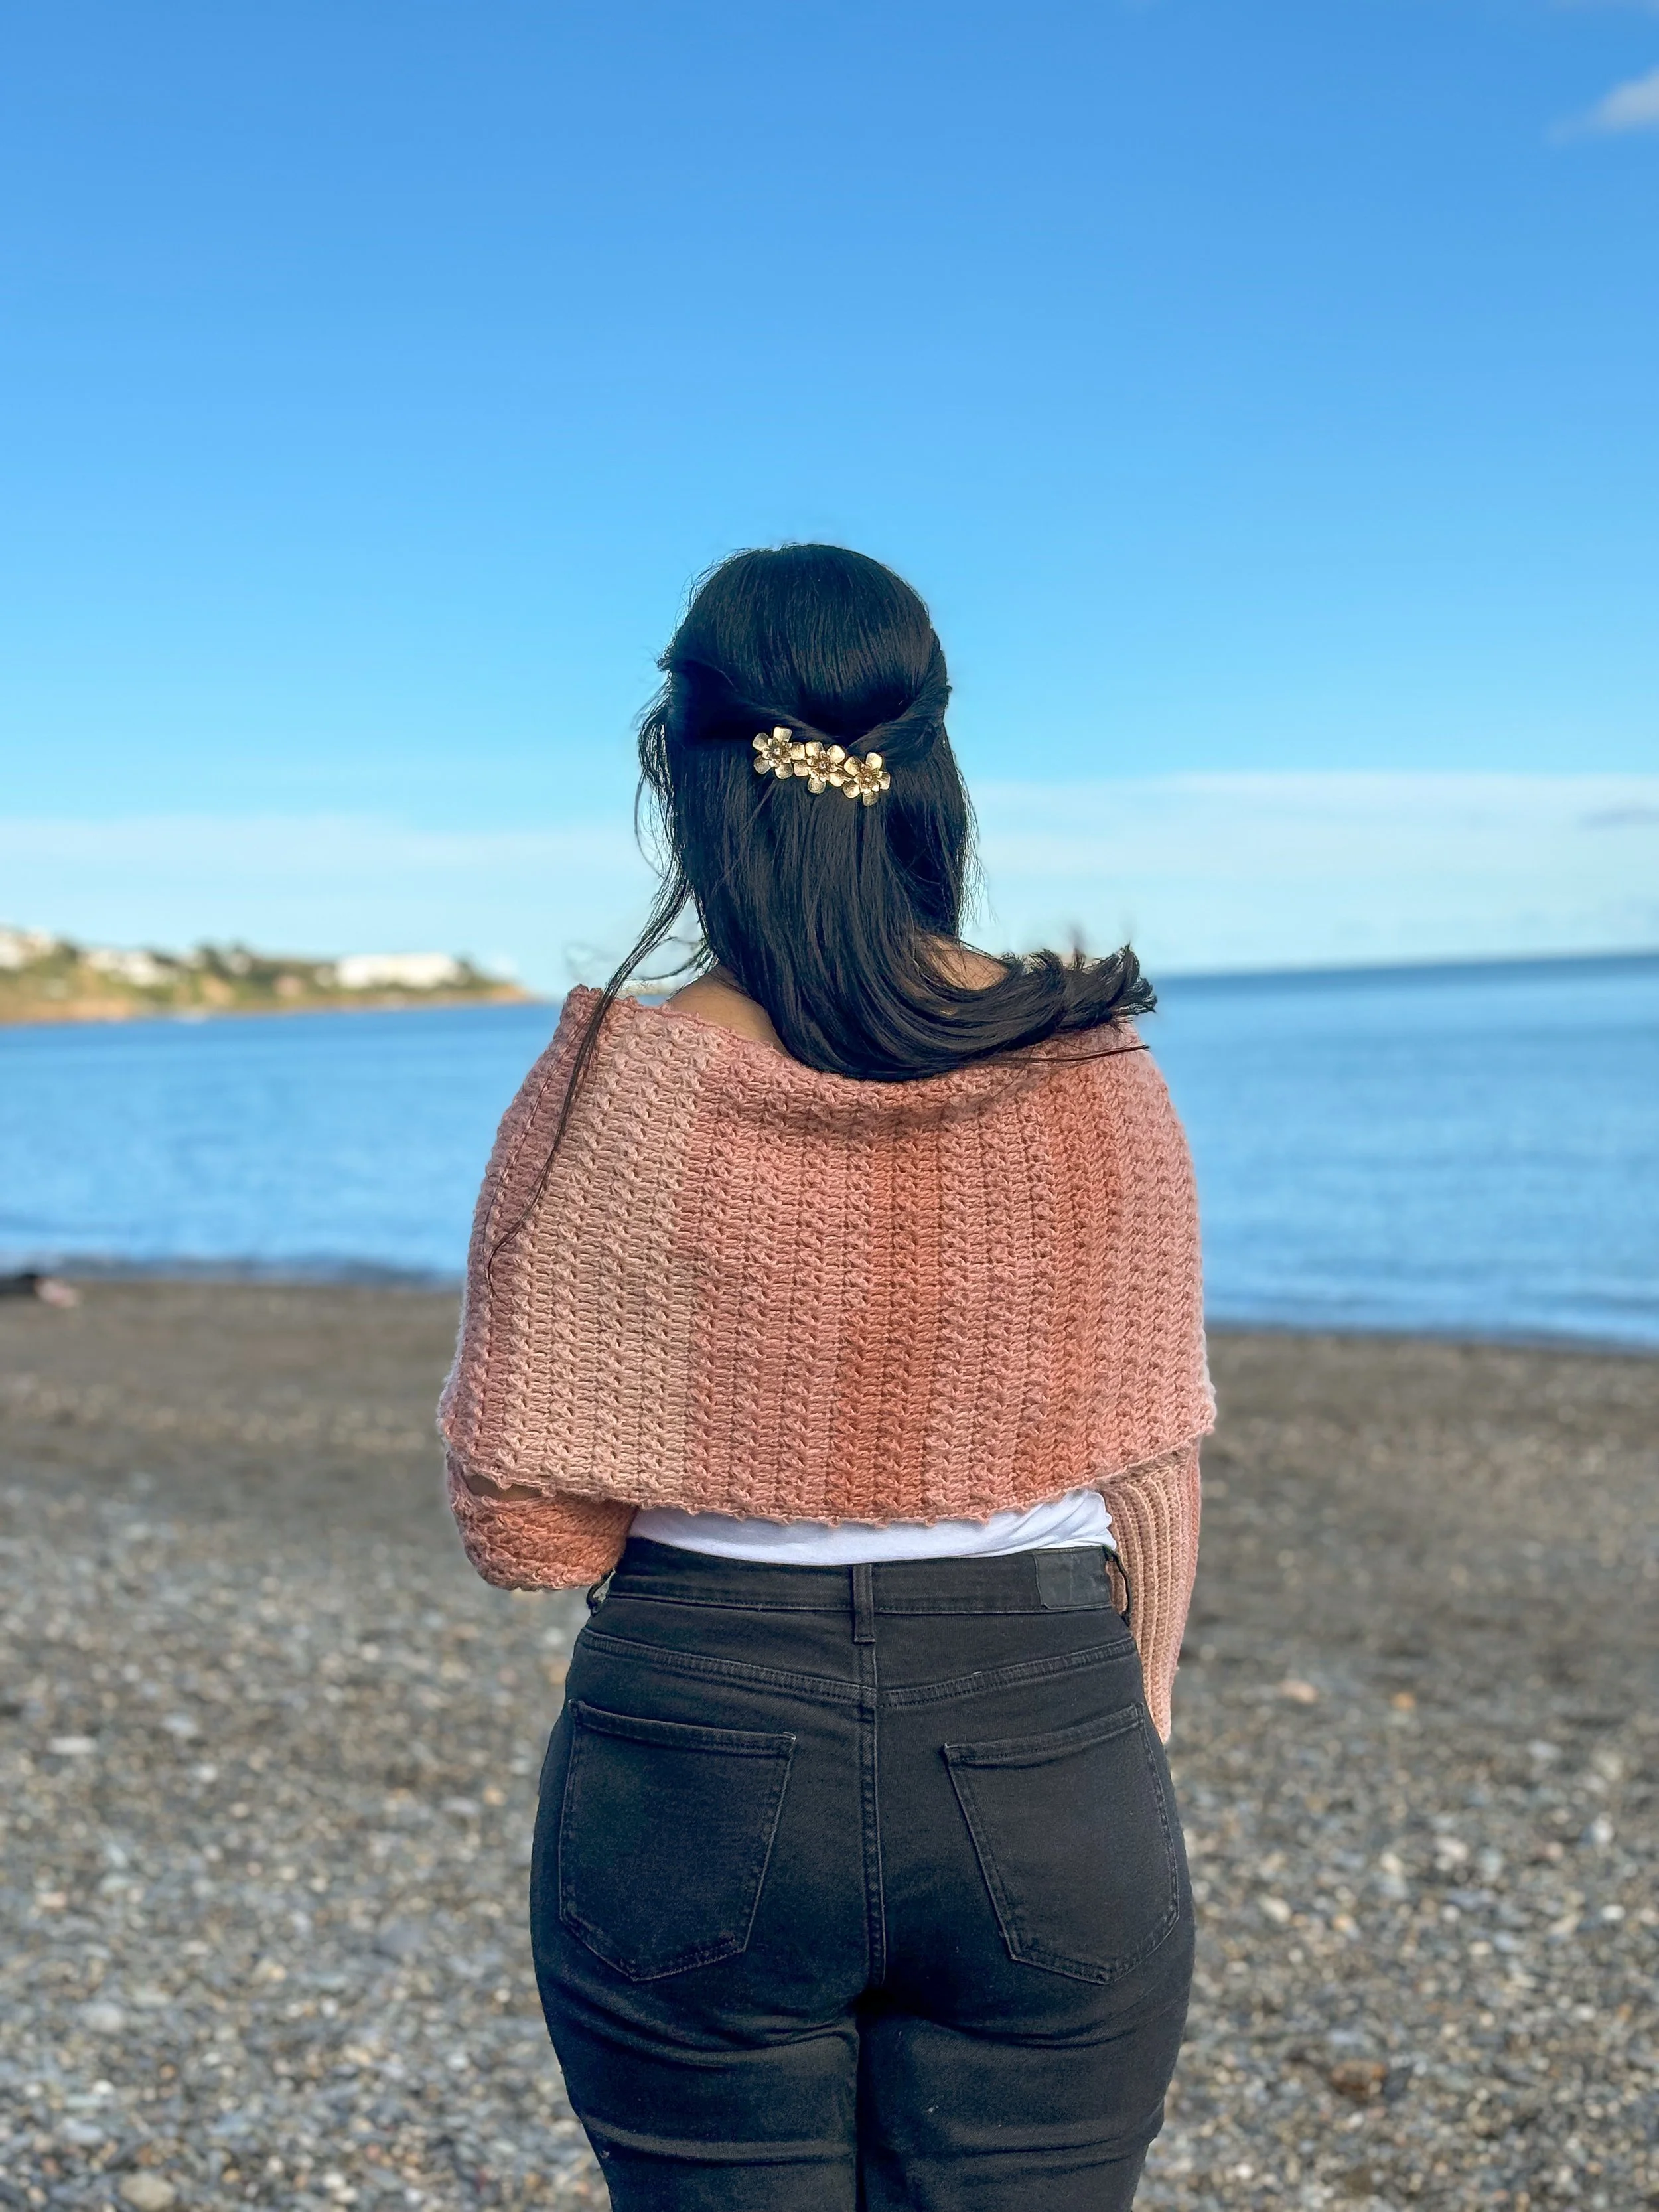
The unique one-piece construction sets this design apart from traditional sweaters. Instead of multiple panels, it’s crocheted as a large scarf, then transformed into a sweater by adding sleeves directly into the body. The result? A seamless, polished garment with minimal finishing work—perfect for those who love simple yet sophisticated patterns.
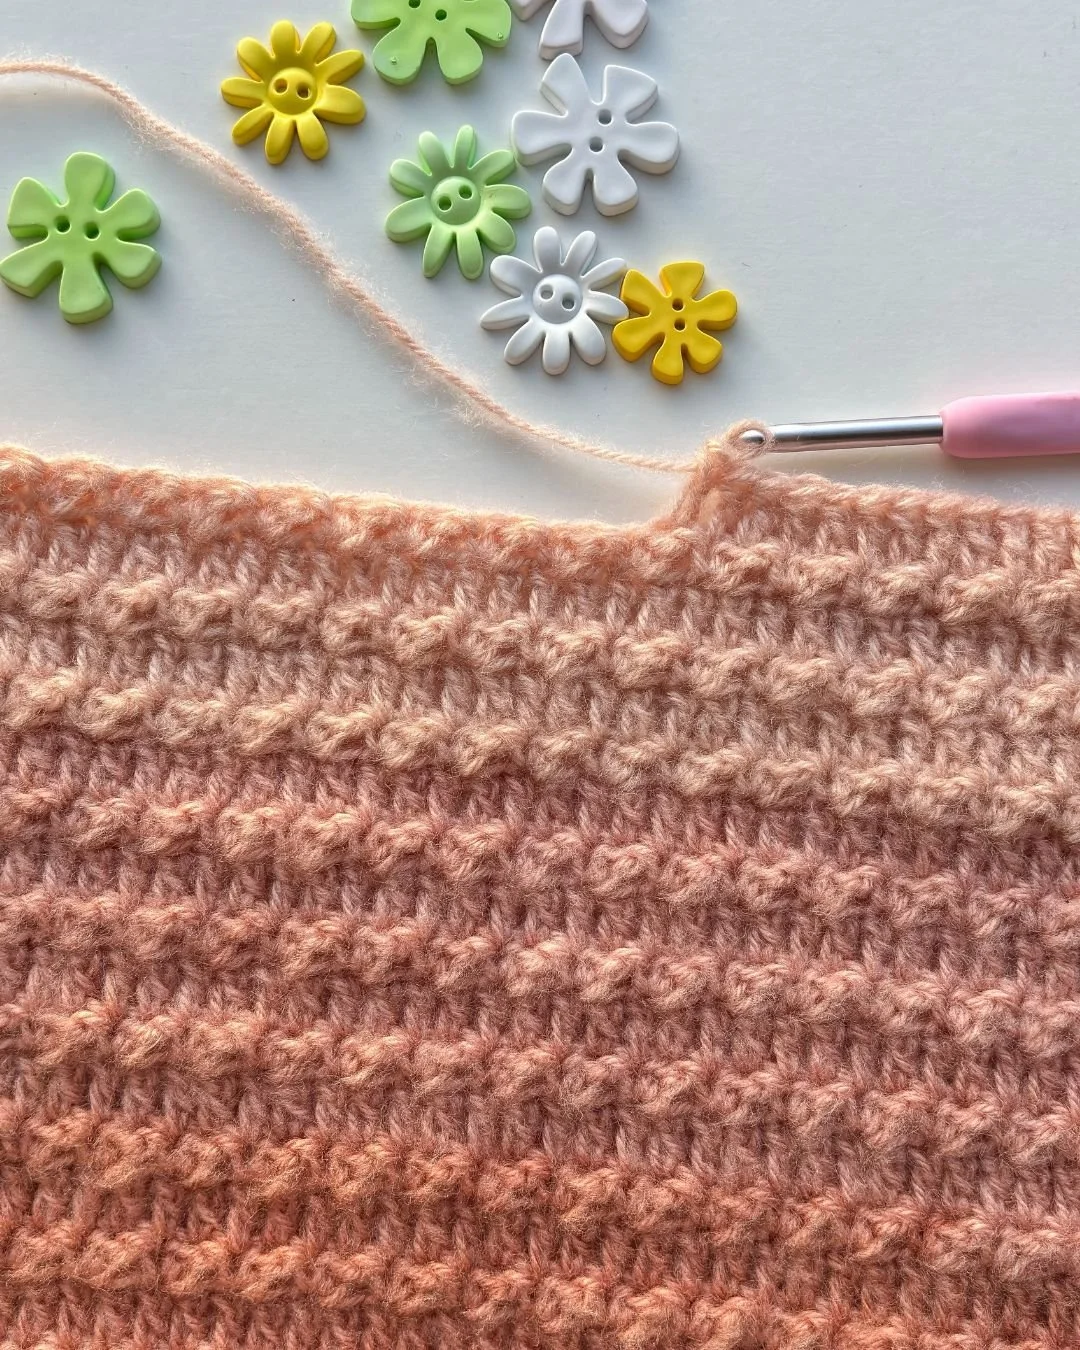
Crafted with worsted-weight yarn, this sweater is warm without being too bulky. The alternating stitches create a subtle texture that makes the fabric both visually appealing and snug. Plus, the ribbed sleeves add a stylish detail while ensuring a comfortable fit.
Styling Your Jade Scarf Sweater
This sweater is as versatile as it is stylish. Throw it over a fitted turtleneck and skinny jeans for a polished, everyday outfit. For a relaxed weekend vibe, pair it with leggings and ankle boots. If you’re looking for a more structured appearance, cinch it at the waist with a belt to transform the oversized drape into a form-fitting statement piece. The Jade Scarf Sweater is also the ideal travel companion—it’s cozy enough for long flights and chic enough to elevate any outfit on the go.

How to Crochet the Jade Scarf Sweater
Starting with the main scarf section, you’ll work with a blend of single and double crochet stitches to form a structured yet soft fabric. The scarf base is designed to drape naturally over the shoulders, making it flattering for all body types. Once the scarf portion is complete, the sleeves are crocheted directly into the body using the back loop only technique to create a ribbed texture.
The best part? This project is entirely customizable. You can adjust the length, width, or sleeve size to match your personal style. Whether you prefer a cropped, fitted look or a long and flowing silhouette, the pattern allows for endless creativity.
Get the jade sweater scarf
FREE PATTERN: Keep scrolling for the FREE version of the Jade Sweater Scarf
PRINTABLE PDF: Pick up the beautifully formatted, ad-free PDF version of the Jade Sweater Scarf from My Etsy Shop. This version comes with detailed DIAGRAMS for extra guidance.
MATERIALS
**Disclosure: As an Amazon Associate, I want to be transparent with our readers and let you know that I may earn a small commission from qualifying purchases made through the links below.
My recommendation of these products is solely based on their suitability for the pattern and not on the commission I may receive. I have personally used and found these products to be the best option for this particular project.
Using these links greatly supports our work at Dublin Bay Crochet. We appreciate your consideration and continued support. Thank you!**
You will need:
Yarn:
Any worsted weight yarn (I used JADE by Hobbii Yarn
100% Acrylic; 100 g (3.5 oz) = 300 m (328 yds)
*Brown (02) - colour A - 3 (4, 5, 6, 7, 8) balls
5.5 mm crochet hook or size needed to obtain gauge
my latest video
Abbreviations - this pattern uses American terms:
Ch- Chain
Ch-sp- Chain space
St/s- Stitch/es
Beg- Beginning
Rnd- Round
RS- Right side
WS- Wrong side
Sl st- Slip stitch
Sc- Single crochet
Sc BLO- Single crochet in the back loop only
Hdc- Half double crochet
Dc- Double crochet
Picot stitch- Work 3 ch, sl st to 3rd ch from hook.
TENSION AND STITCH PATTERN
TENSION:
14 sts x 8 rows= 10 x 10 cm (4 x 4") in stitch pattern.
Stitch Pattern
For swatch, chain 21.
Row 1: 1 dc in 3rd ch from hook, 1 dc in each ch available until the end, 1 ch and turn. 19 dc
Row 2: (1 sc, 1 dc) in 1st dc, *miss 1 dc, (1 sc, 1 dc) in next dc* rep from * to * across until there are 2 dc left, miss next dc, 1 sc in last dc, 2 ch and turn. 19 sts
Row 3: 1 dc in 1st sc, 1 dc in each st across, 1 ch and turn. 19 dc
Rows 4- 13: Repeat rows 2 and 3.
sizes
Find the schematics and actual finished measurements on the printable version.
Five sizes available- XS (S, M, L, XL, XXL). The sizes given are only a suggestion as you can easily customize this design and create the perfect garment for your size.
To fit Bust: 76 (86, 96.5, 106.5, 116.5, 127) cm / 30 (34, 38, 42, 46, 50)”
Permissions + Copyright:
Please do not publish or share this pattern as your own. You may make items to sell with this pattern. In exchange, please link back this post. Do NOT use our photos as your own sales photos.
START HERE
With yarn A and 5.5 mm crochet hook
Chain 47 (47, 51, 51, 55, 55)
Working in rows:
Row 1: Starting from 3rd ch from hook, 1 dc in each ch available until the end, 1 ch and turn. 45 (45, 49, 49, 53, 53) dc
Row 2: (1 sc, 1 dc) in 1st dc, *miss 1 dc, (1 sc, 1 dc) in next dc* rep from * to * across until there are 2 dc left, miss next dc, 1 sc in last dc, 2 ch and turn. 49 sts
Row 3: 1 dc in 1st sc, 1 dc in each st across, 1 ch and turn. 49 dc
Rows 4 to 117 (133, 147, 161, 175, 187): Rep rows 2 and 3.
SIDE BORDER AND SLEEVES
The border of the scarf is worked in one round without turning, so the right side of your work will be always facing you. When working the vertical sides of the scarf, it won’t be clear enough where to place each stitch so I recommend working 2 sc over 1 row of double crochet rows and 1 sc over rows of (sc, dc). This way you will achieve a balanced edge.
You will first create a border around one side of your scarf and when you get to the end of that side you will work one sleeve directly into the scarf. Then you will continue working on the border of the opposite side and create a second sleeve. You will sew the sleeves together in order to finish your work.
At the end of row 117 (133, 147, 161, 175, 187), turn your work 90 degrees to start working on the 1st side and with the RS of your work facing you, work 1 ch (does not count as a st)
Row 1: *1 sc in next 3 available spaces, Picot st* rep from * to * the first side is completed.
MAKING THE RIBBED SLEEVES
You will now work the sleeves directly into the base of your scarf.
The starting chain of the ribbing will determine the length of the sleeve ribbing. Chain fewer stitches for a shorter sleeve and more stitches for a longer sleeve.
Change to a 4.5 mm crochet hook and chain 51.
Row 1: 1 sc in 2nd ch from hook and in each ch to end. (50 sc), sl st in same space where the yarn was attached, 1 sl st in next space on base of the scarf, turn. 50 sc
Row 2: Miss 2 sl sts from previous row, 1 sc in BLO in each st to end, 1 ch, turn. 50 sc
Row 3: 1 sc in BLO in each st to end, miss 2 sl st from previous row, 1 sl st in next 2 spaces of base of the scarf, turn. 50 sc
Repeat rows 2-3 until entire base of the scarf is covered.
Do not fasten off as you will continue working on the opposite side of the scarf.
Change to 5.5 mm crochet hook
*1 sc in next 3 available spaces, Picot st* rep from * to * until the side of the scarf is completed.
Change to 4.5 mm crochet hook and repeat the same steps for the 1st sleeve.
Cut yarn and weave in ends.
TO MAKE UP
Using a tapestry needle and a long thread of yarn, whip stitch the long edges of each rib portion to form the sleeves. I suggest that you try the sweater on before cutting the ends of the seam yarn. You might find that you need to continue the seam for up to a further 6 cm on each sleeve to ensure a snug fit.
Weave in any stray ends. Block if needed and wear.
Wearing something made by hand feels like a warm hug on a chilly day. It’s the perfect way to stay stylish, comfortable, and connected to the joy of creating!
Try making the Blossom Cardigan or the Rory Hat- both are perfect additions to any wardrobe!
Cheers, and happy crocheting!

🌺🌺🌺🌺
Well That Was Fun! What's Next?
📌 PIN THIS POST - Don't lose this project; save it to your Pinterest crochet board so you can quickly come back to it again.
💌 SHARE - Share your yarn choice, in-progress, or finished projects on Facebook or Instagram and use the hashtag #leoneladiy
🥂 JOIN - Join our small community on Facebook: Dublin Bay Crochet