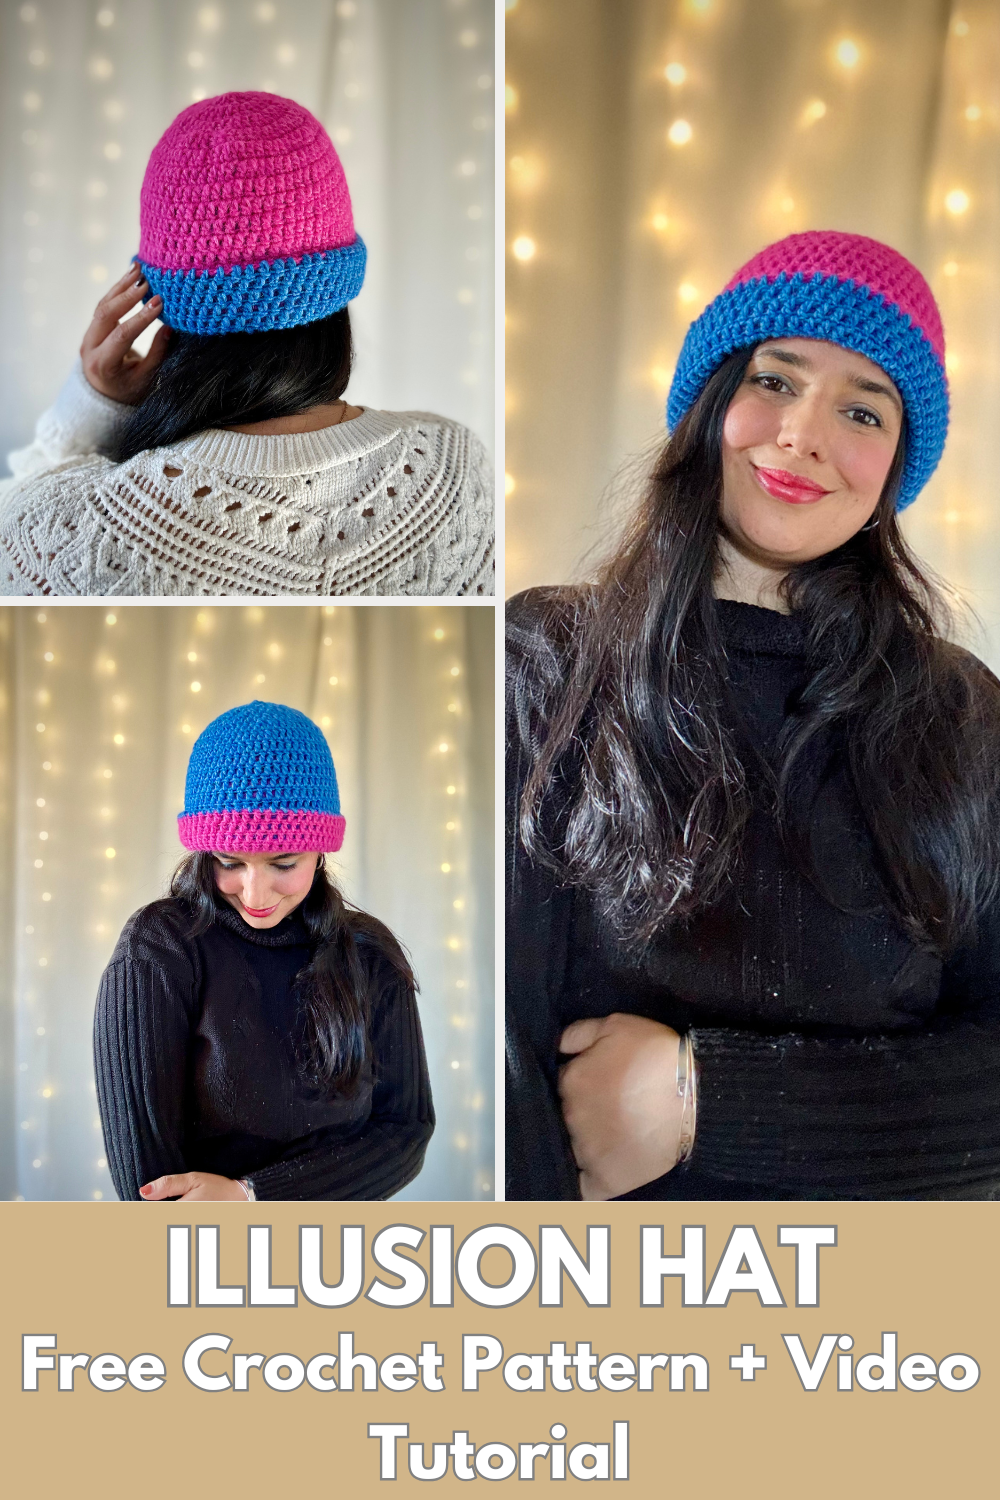
Crochet beanie + free pattern
Step into cool weather with classic style when you put on the Illusion Hat! Looking for a crochet project that's fun, stylish, and oh-so-cozy? You’re in the right place! Today, I’m sharing a free tutorial for the Illusion Hat, a beautifully simple crochet pattern perfect for beginners and seasoned pros alike. This two-tone beanie, worked from the top down, means no seams, no fuss—just pure crochet joy. And here's the best part: it’s double-layered, giving it a warm and luxurious feel, perfect for chilly days.
Get the illusion beanie
FREE PATTERN: Keep scrolling for the FREE version of the Illusion Beanie
PRINTABLE PDF: Pick up the beautifully formatted, ad-free PDF version of the ILLUSION Beanie from My Etsy Shop.
Pin it now, crochet it later!
When the chill of cool weather sets in, nothing beats a handmade, stylish accessory to keep you cozy. The Illusion Hat is the perfect project for crocheters of all skill levels. Whether you're looking for a quick gift idea or a fun way to experiment with colors, this double-layered, two-tone beanie will become your new favorite go-to pattern!
Why You'll Love the Illusion Hat
This hat isn't just any beanie—it's a combination of functionality, simplicity, and style. Here’s why it’s so special:
Beginner-Friendly: Even if you’ve just started your crochet journey, you’ll be able to whip this hat up with ease. The double crochet stitch creates a rich, cozy texture while keeping the process straightforward.
Quick to Make: Depending on your skill level, you can finish this project in just a few hours. Perfect for last-minute gifts or satisfying your creative itch!
No Seaming Required: The pattern is worked seamlessly from the top down—one continuous piece of crochet goodness.
Customizable Sizes: With two adult sizes available, you can ensure a perfect fit for yourself or your loved ones. The hat's stretchy design is snug yet comfortable, thanks to its "negative ease" structure.
The Fun of Customizing Your Illusion Hat
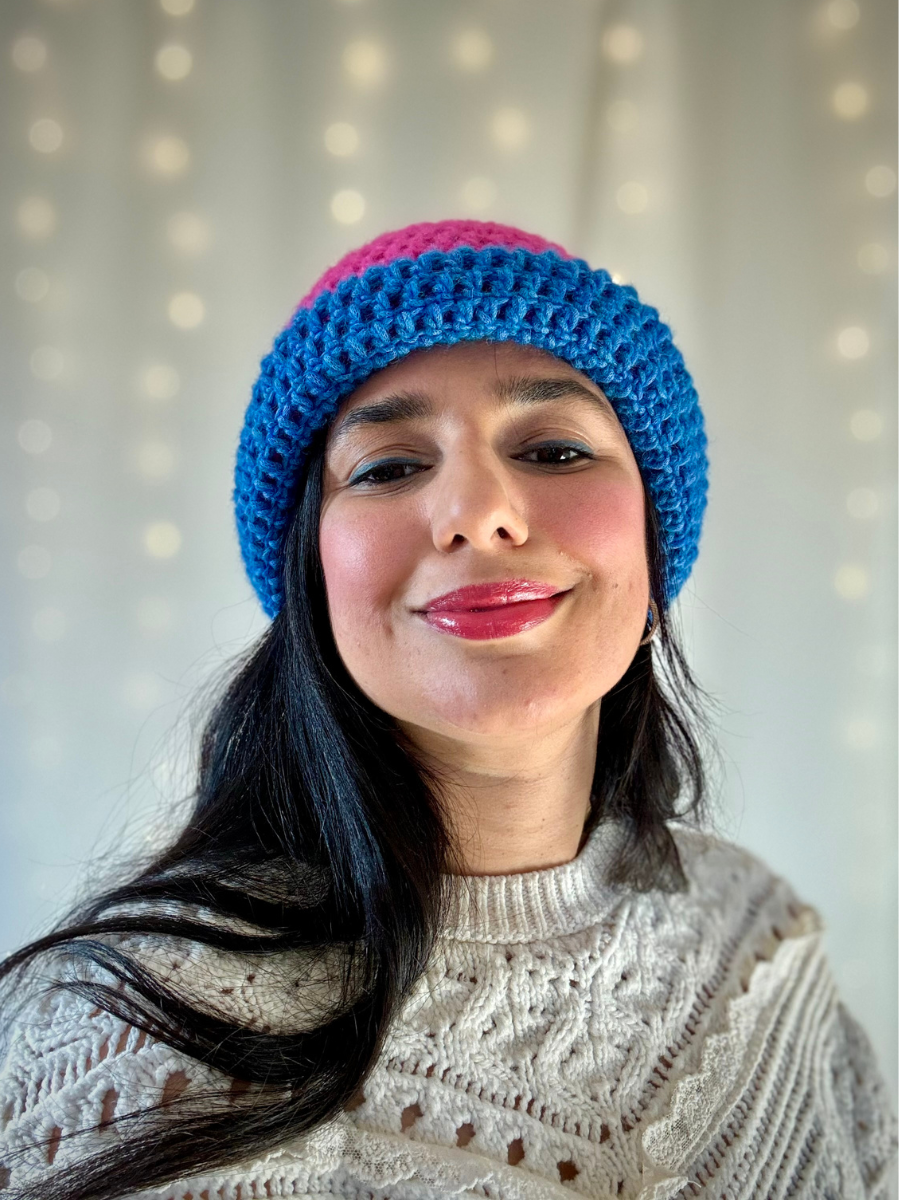
One of the highlights of this pattern is its versatility. The two-tone design lets you mix and match colors to create your own unique look. Use neutral tones for a classic vibe or go bold with bright, contrasting colors. The rolled brim adds a modern, playful twist that pairs beautifully with the cozy double-layered texture.
What You’ll Need
Here’s what you need to get started:
Yarn: Worsted-weight yarn. The pattern recommends Air by Drops, a blend of alpaca, polyamide, and wool. Alternatives include Lion Brand Heartland for a soft, affordable option or Cascade 220 for a wooly, warm feel.
Hook: A 6mm crochet hook (or the size needed to meet gauge).
Notions: Tapestry needle, stitch markers, scissors, and measuring tape.
Gauge Check: Work Rounds 1–5 of the pattern to check your tension. The circle should measure approximately 16 cm (6.3 inches).
Sizing Guide
The Illusion Hat is designed with “negative ease,” meaning it’s slightly smaller than your head for a snug fit that stretches comfortably. Choose from two sizes:
Adult Small: 20” (51 cm) circumference
Adult Large: 21.5” (54 cm) circumference
To determine your size:
Measure your head circumference at its widest point (just above your ears).
Subtract 1–3 inches (2.5–7.5 cm) to account for stretch.
Choose the closest size for a perfect fit!
How It’s Made
The Illusion Hat is worked in two stages:
The Crown: Start with a magic ring and work in increasing rounds until you reach your desired size.
The Body: Once the crown is complete, crochet the hat's body using double crochet stitches. This part is worked in two sections to achieve the stylish two-tone effect.
The Rolled Brim: Finish your hat with a neat rolled brim that not only looks modern but also enhances the snug fit.
Double-Layer Magic: The second layer transforms the hat into a double-sided, reversible beauty, adding extra warmth and dimension.
Let’s Get Started!
Ready to bring the Illusion Hat to life? The step-by-step tutorial is simple to follow, making it a joy for beginners and a relaxing project for experienced crocheters. Grab your yarn, choose your favorite colors, and dive in!
Skill Level:
Beginner
You will need:
Any Worsted yarn (I used Air by Drops; WORSTED; 150 m per 50 gr ball; 65% Alpaca, 28% Polyamide, 7% Wool)
*Magenta (39)- colour A x 1 (2) balls
*Bluebird (37)- colour B x 1 (2) balls
6 mm crochet hook or size needed to obtain correct gauge
Tapestry needle
Stitch markers
Scissors and Measuring Tape
TENSION:
Work rounds 1- 5 from main pattern and this circle should measure 16 cm/ 6.30 inches.
Abbreviations American terms:
Ch- chain
Ch-sp- Chain space
St/s- Stitch/es
Beg- Beginning
Rnd- Round
RS- Right side
WS- Wrong side
Sl st- Slip stitch
Dc- Double Crochet
Dc2tog- Double Crochet two stitches together
With color A and 6 mm crochet hook
Crown -Size 1 + 2
Start by making a magic ring and 2 ch. The initial 2 ch do not count as a st here and throughout.
Rnd 1: 12 dc into the ring, pull the yarn tail tight to close the ring and sl st to 1st dc to close the round. 12 dc
Rnd 2: (Inc) 2 ch, 2 dc in each dc from previous round, sl st to 1st dc from rnd. 24 dc
Rnd 3: (Inc) 2 ch, 1 dc in 1st dc, 2 dc in next dc, [1 dc in next dc, 2 dc in next dc] repeat the steps in [...] until the end of the round, sl st to 1st dc from rnd. 36 dc
Rnd 4: (Inc) 2 ch, 1 dc in 1st dc, 1 dc in next dc, 2 dc in next dc, [1 dc in next 2 dc, 2 dc in next dc] repeat the steps in [...] until the end of the round, sl st to 1st dc from rnd. 48 dc
Rnd 5: (Inc) 2 ch, 1 dc in 1st dc, 1 dc in next 2 dc, 2 dc in next dc, [1 dc in next 3 dc, 2 dc in next dc] repeat the steps in [...] until the end of the round, sl st to 1st dc from rnd. 60 dc
The circle should have a diameter of 16 cm/ 6.30 inches.
This is the end of the crown for size 1. Continue working on Rounds 6 to 19 from the body section.
SIZE 2 ONLY
Rnd 6: (Inc) 2 ch, 1 dc in 1st dc, 1 dc in next 3 dc, 2 dc in next dc, [1 dc in next 4 dc, 2 dc in next dc] repeat the steps in [...] until the end of the round, sl st to 1st dc from rnd. 72 dc
The circle should have a diameter of 18 cm/ 7 inches.
This is the end of the crown for size 2. Continue working on Rounds 7 to 20 from the body section.
BODY
ALL SIZES- Size 1 (2)
Rnds 6 (7) to 19 (20): 2 ch, 1 dc in each dc until the end of the round, sl st to 1st dc from rnd. 60 (72) dc
Cut yarn at the end of rnd 19 and attach color B to any dc.
Rnds 20 (21) to 34 (35): 2 ch, 1 dc in same space, 1 dc in each dc until the end of the round, sl st to 1st dc from rnd. 60 (72) dc
Crown
Now you will work some decreases in order to create the crown of the 2nd hat.
SIZE 1 ONLY
Rnd 35: (Dec) 2 ch, 1 dc in same space, 1 dc in next 2 dc, 1 dc2tog, [1 dc in next 3 dc, 1 dc2tog] repeat the steps between [...] until the end of the round, sl st to 1st dc from rnd. 48 dc
Rnd 36: (Dec) 2 ch, 1 dc in same space, 1 dc in next dc, 1 dc2tog, [1 dc in next 2 dc, 1 dc2tog] repeat the steps between [...] until the end of the round, sl st to 1st dc from rnd. 36 dc
Rnd 37: (Dec) 2 ch, 1 dc in same space, 1 dc2tog, [1 dc in next dc, 1 dc2tog] repeat the steps between [...] until the end of the round, sl st to 1st dc from rnd. 24 dc
Rnd 38: (Dec) 2 ch, 1 dc2tog across until the end of the round, sl st to 1st dc from rnd. 12 dc
Rnd 39: 2 ch, 1 dc in each dc until the end of the rnd. 12 dc
Cut yarn, leaving 20 cm approximately of yarn. Thread the yarn through the open stitches in order to close the ring. Weave in ends.
SIZE 2 ONLY
Rnd 36: (Dec) 2 ch, 1 dc in same space, 1 dc in next 3 dc, 1 dc2tog, [1 dc in next 4 dc, 1 dc2tog] repeat the steps between [...] until the end of the round, sl st to 1st dc from rnd. 60 dc
Rnd 37: (Dec) 2 ch, 1 dc in same space, 1 dc in next 2 dc, 1 dc2tog, [1 dc in next 3 dc, 1 dc2tog] repeat the steps between [...] until the end of the round, sl st to 1st dc from rnd. 48 dc
Rnd 38: (Dec) 2 ch, 1 dc in same space, 1 dc in next dc, 1 dc2tog, [1 dc in next 2 dc, 1 dc2tog] repeat the steps between [...] until the end of the round, sl st to 1st dc from rnd. 36 dc
Rnd 39: (Dec) 2 ch, 1 dc in same space, 1 dc2tog, [1 dc in next dc, 1 dc2tog] repeat the steps between [...] until the end of the round, sl st to 1st dc from rnd. 24 dc
Rnd 40: (Dec) 2 ch, 1 dc2tog across until the end of the round, sl st to 1st dc from rnd. 12 dc
Rnd 41: 2 ch, 1 dc in each dc until the end of the rnd. 12 dc
To close the top of the hat, cut the yarn, leaving a tail of about 20 cm (8 inches). Thread the yarn tail onto a tapestry needle. Insert the needle through the front loops of the remaining stitches, pulling the yarn tight as you go. Once you’ve threaded through all the stitches, pull the yarn firmly to close the top of the hat. Secure the yarn by weaving the tail through a few stitches inside the hat to fasten off. Weave in ends.
Share Your Creations!
I’d love to see how your Illusion Hat turns out! Share your photos on Instagram and use the hashtags #IllusionHat and #LeonelaDIY to show off your work. Have questions? Feel free to reach out—I’m here to help make this project a fun and successful experience.
Find more free beginner crochet patterns here:
Find the free pattern to make the BLOSSOM CARDI HERE: Dublin Bay Crochet
Make another crochet beanie: Dublin Bay Crochet


