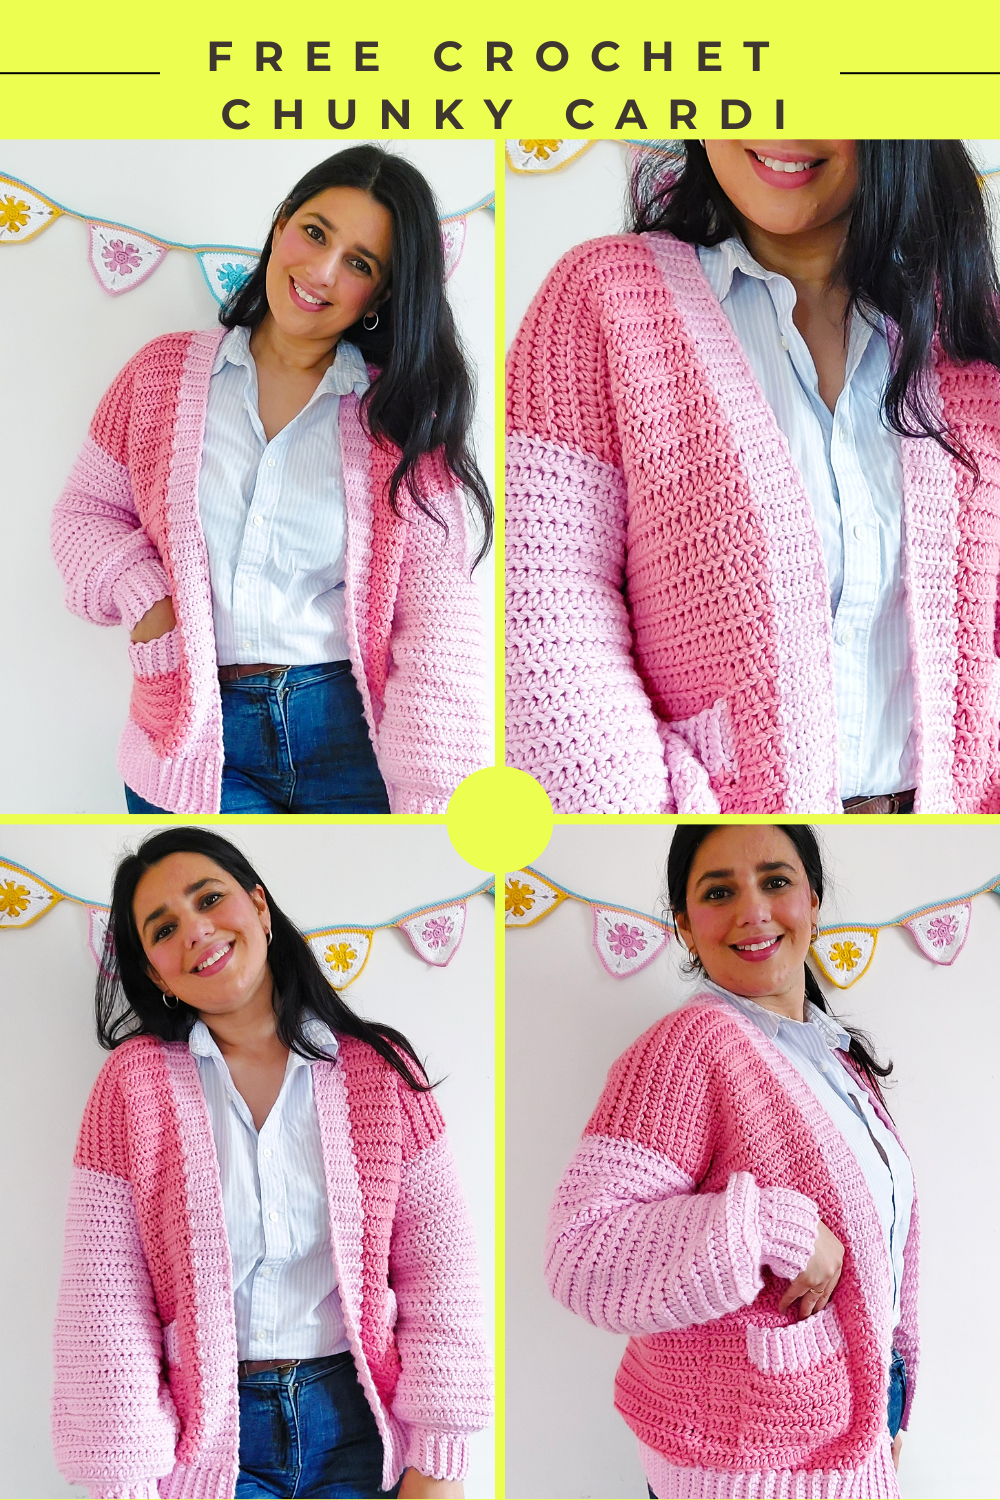
Crochet chunky cardigan (free pattern + tutorial)
With a super easy construction based on different panels, this free crochet sweater pattern is playful, fast and perfect for beginner to advanced crocheters. You’ll love watching it come together with zero increasing or decreasing! Get the free pattern + video below or purchase the ad-free, printable PDF.
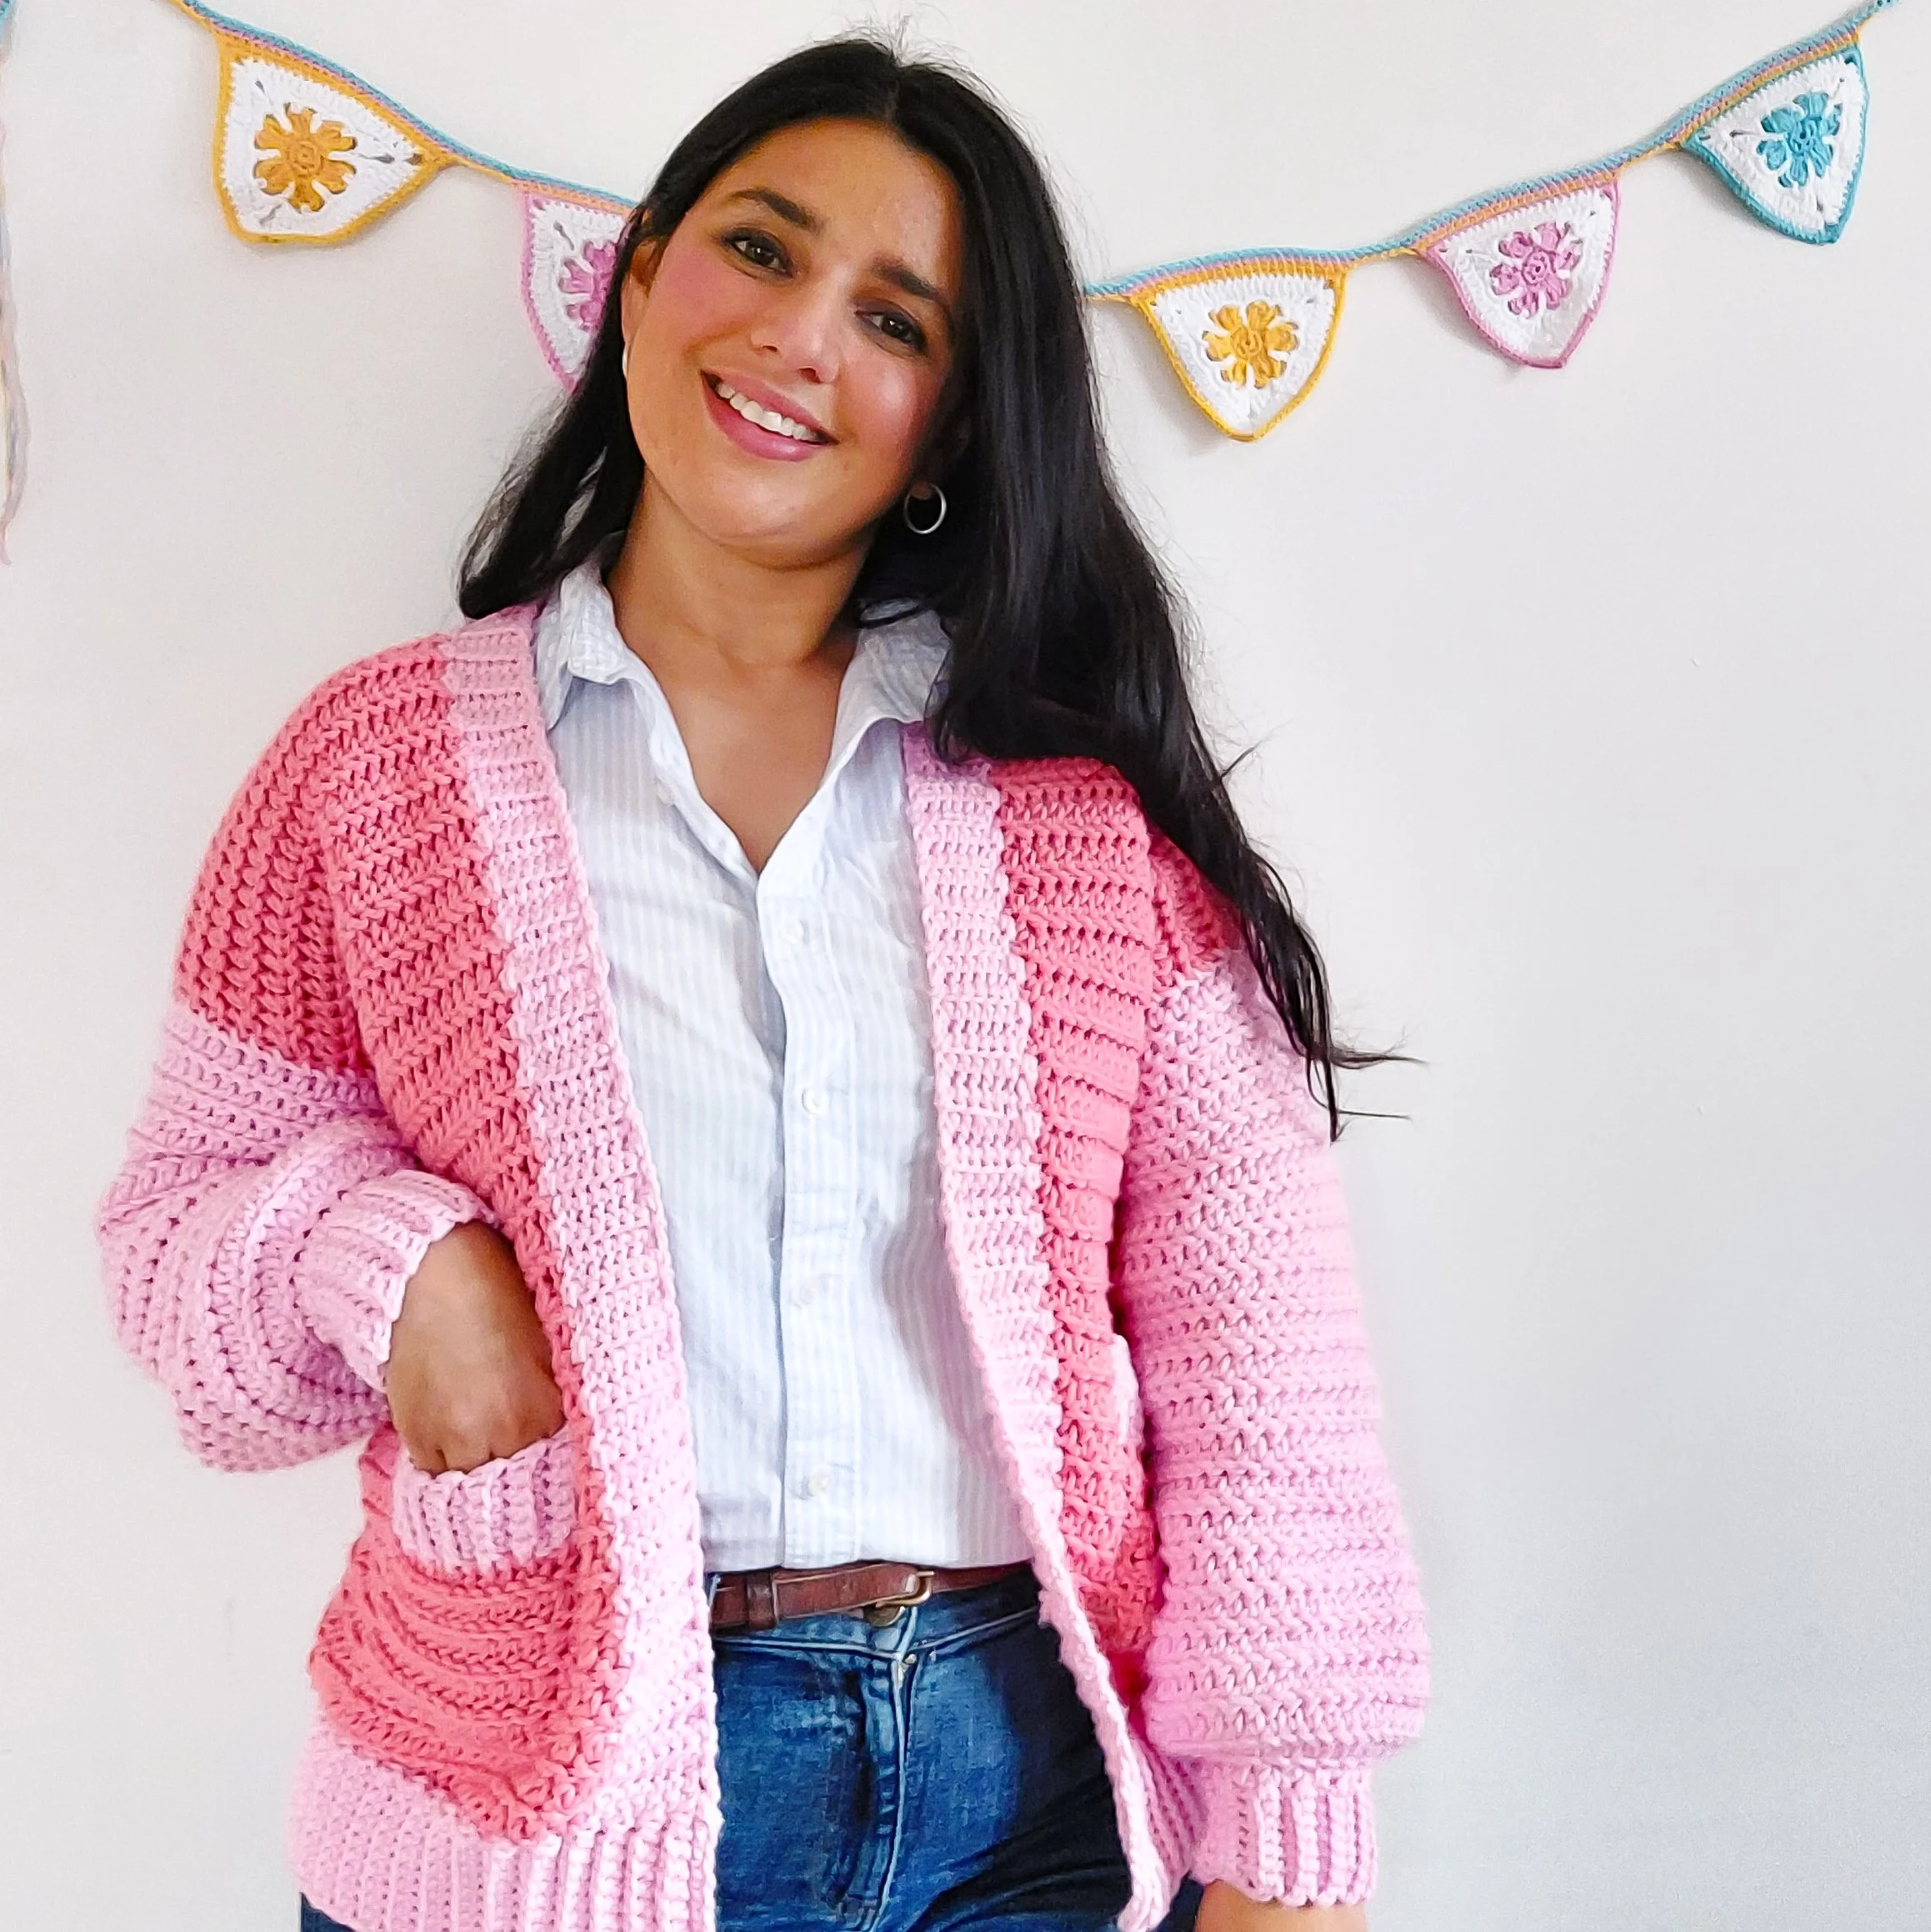
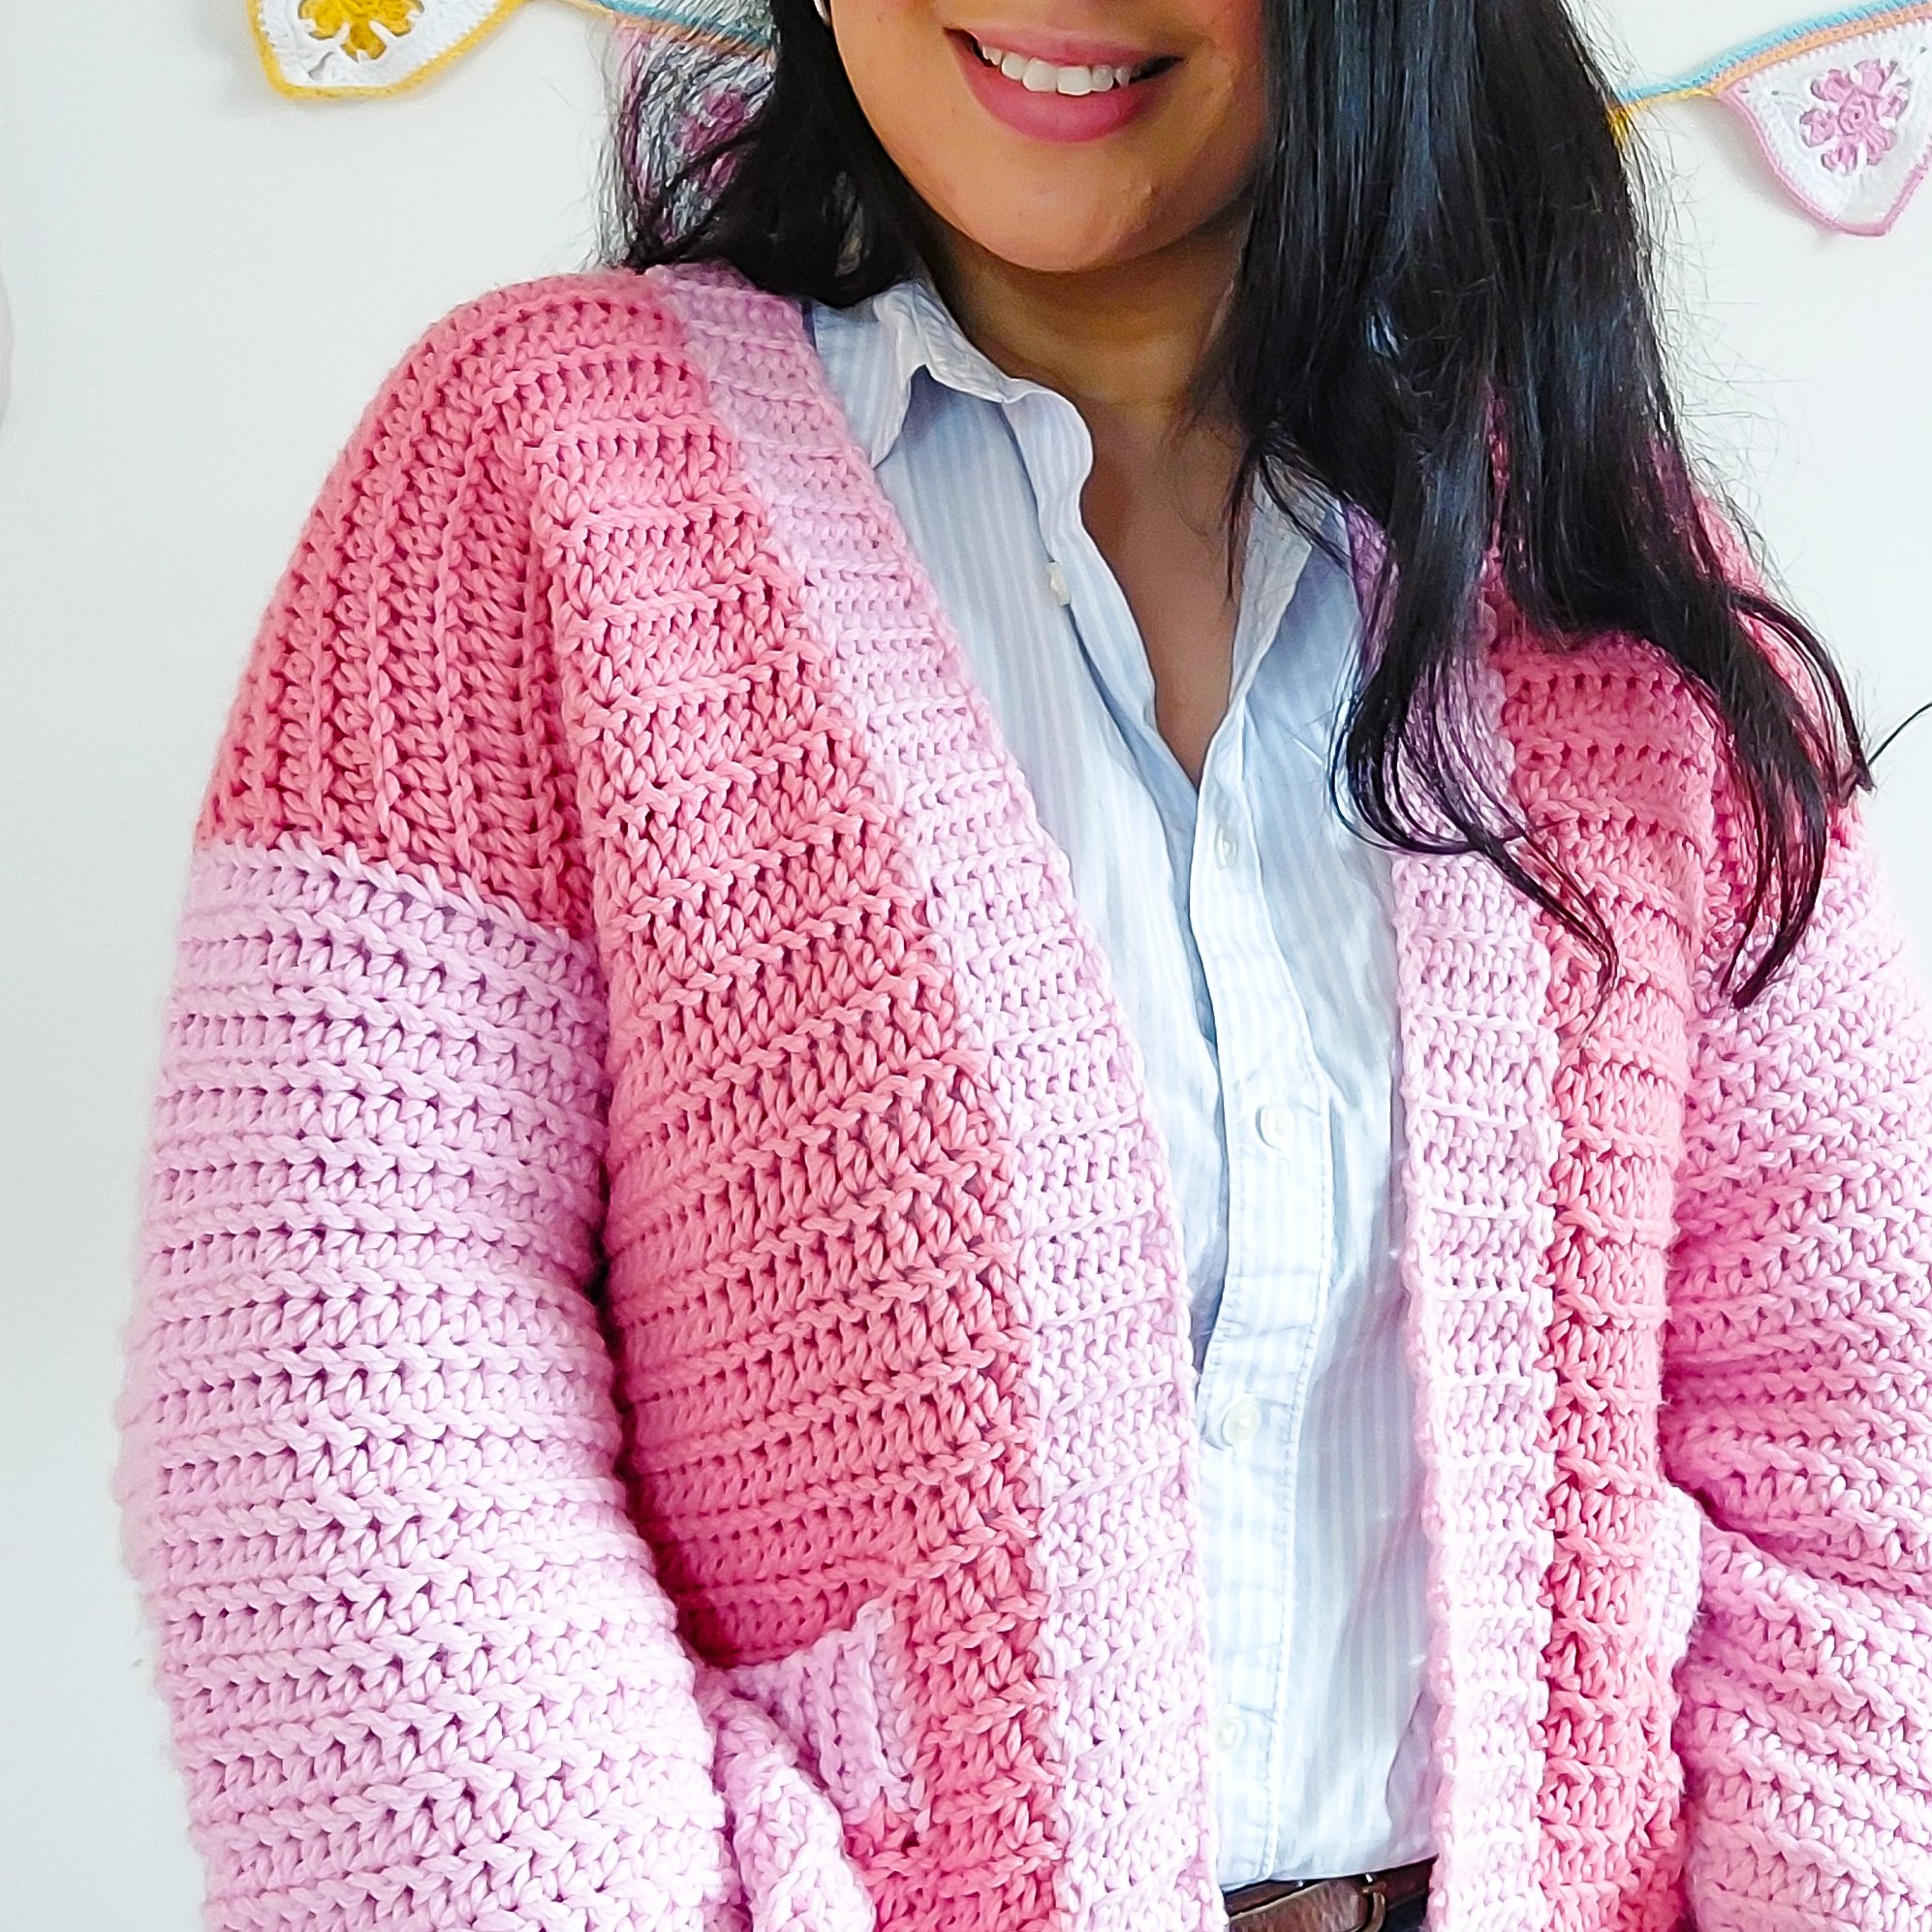
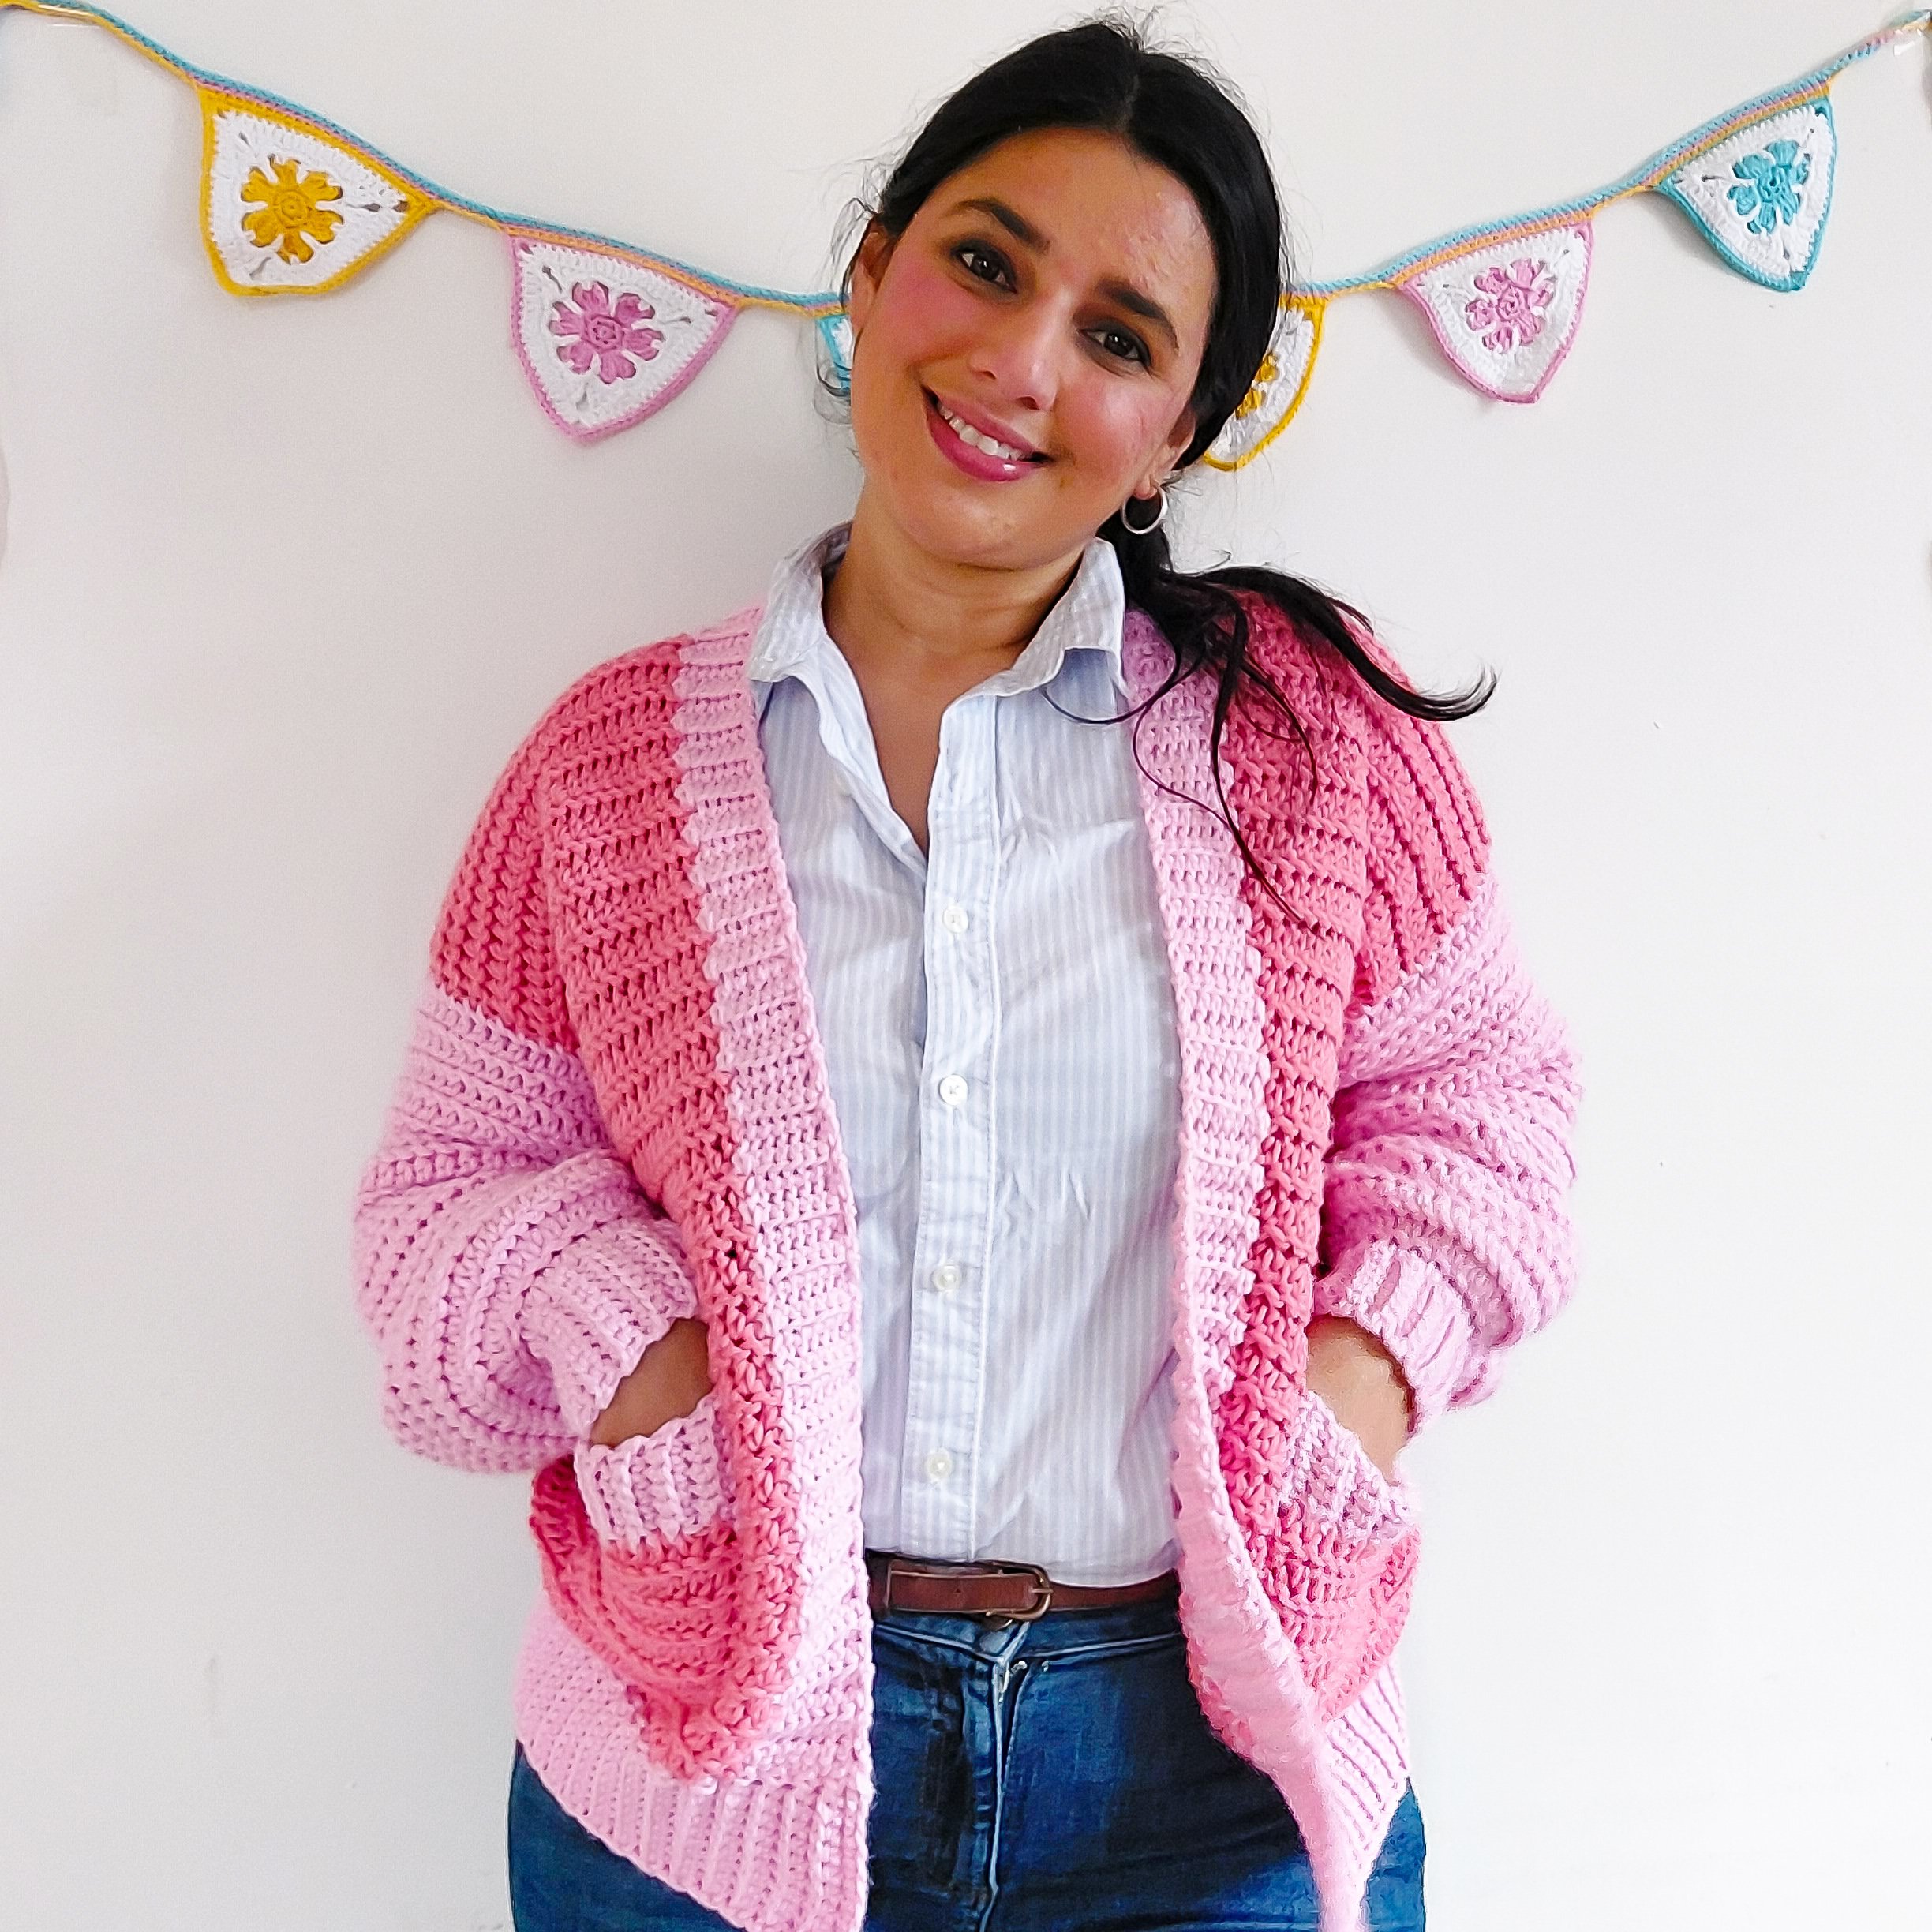
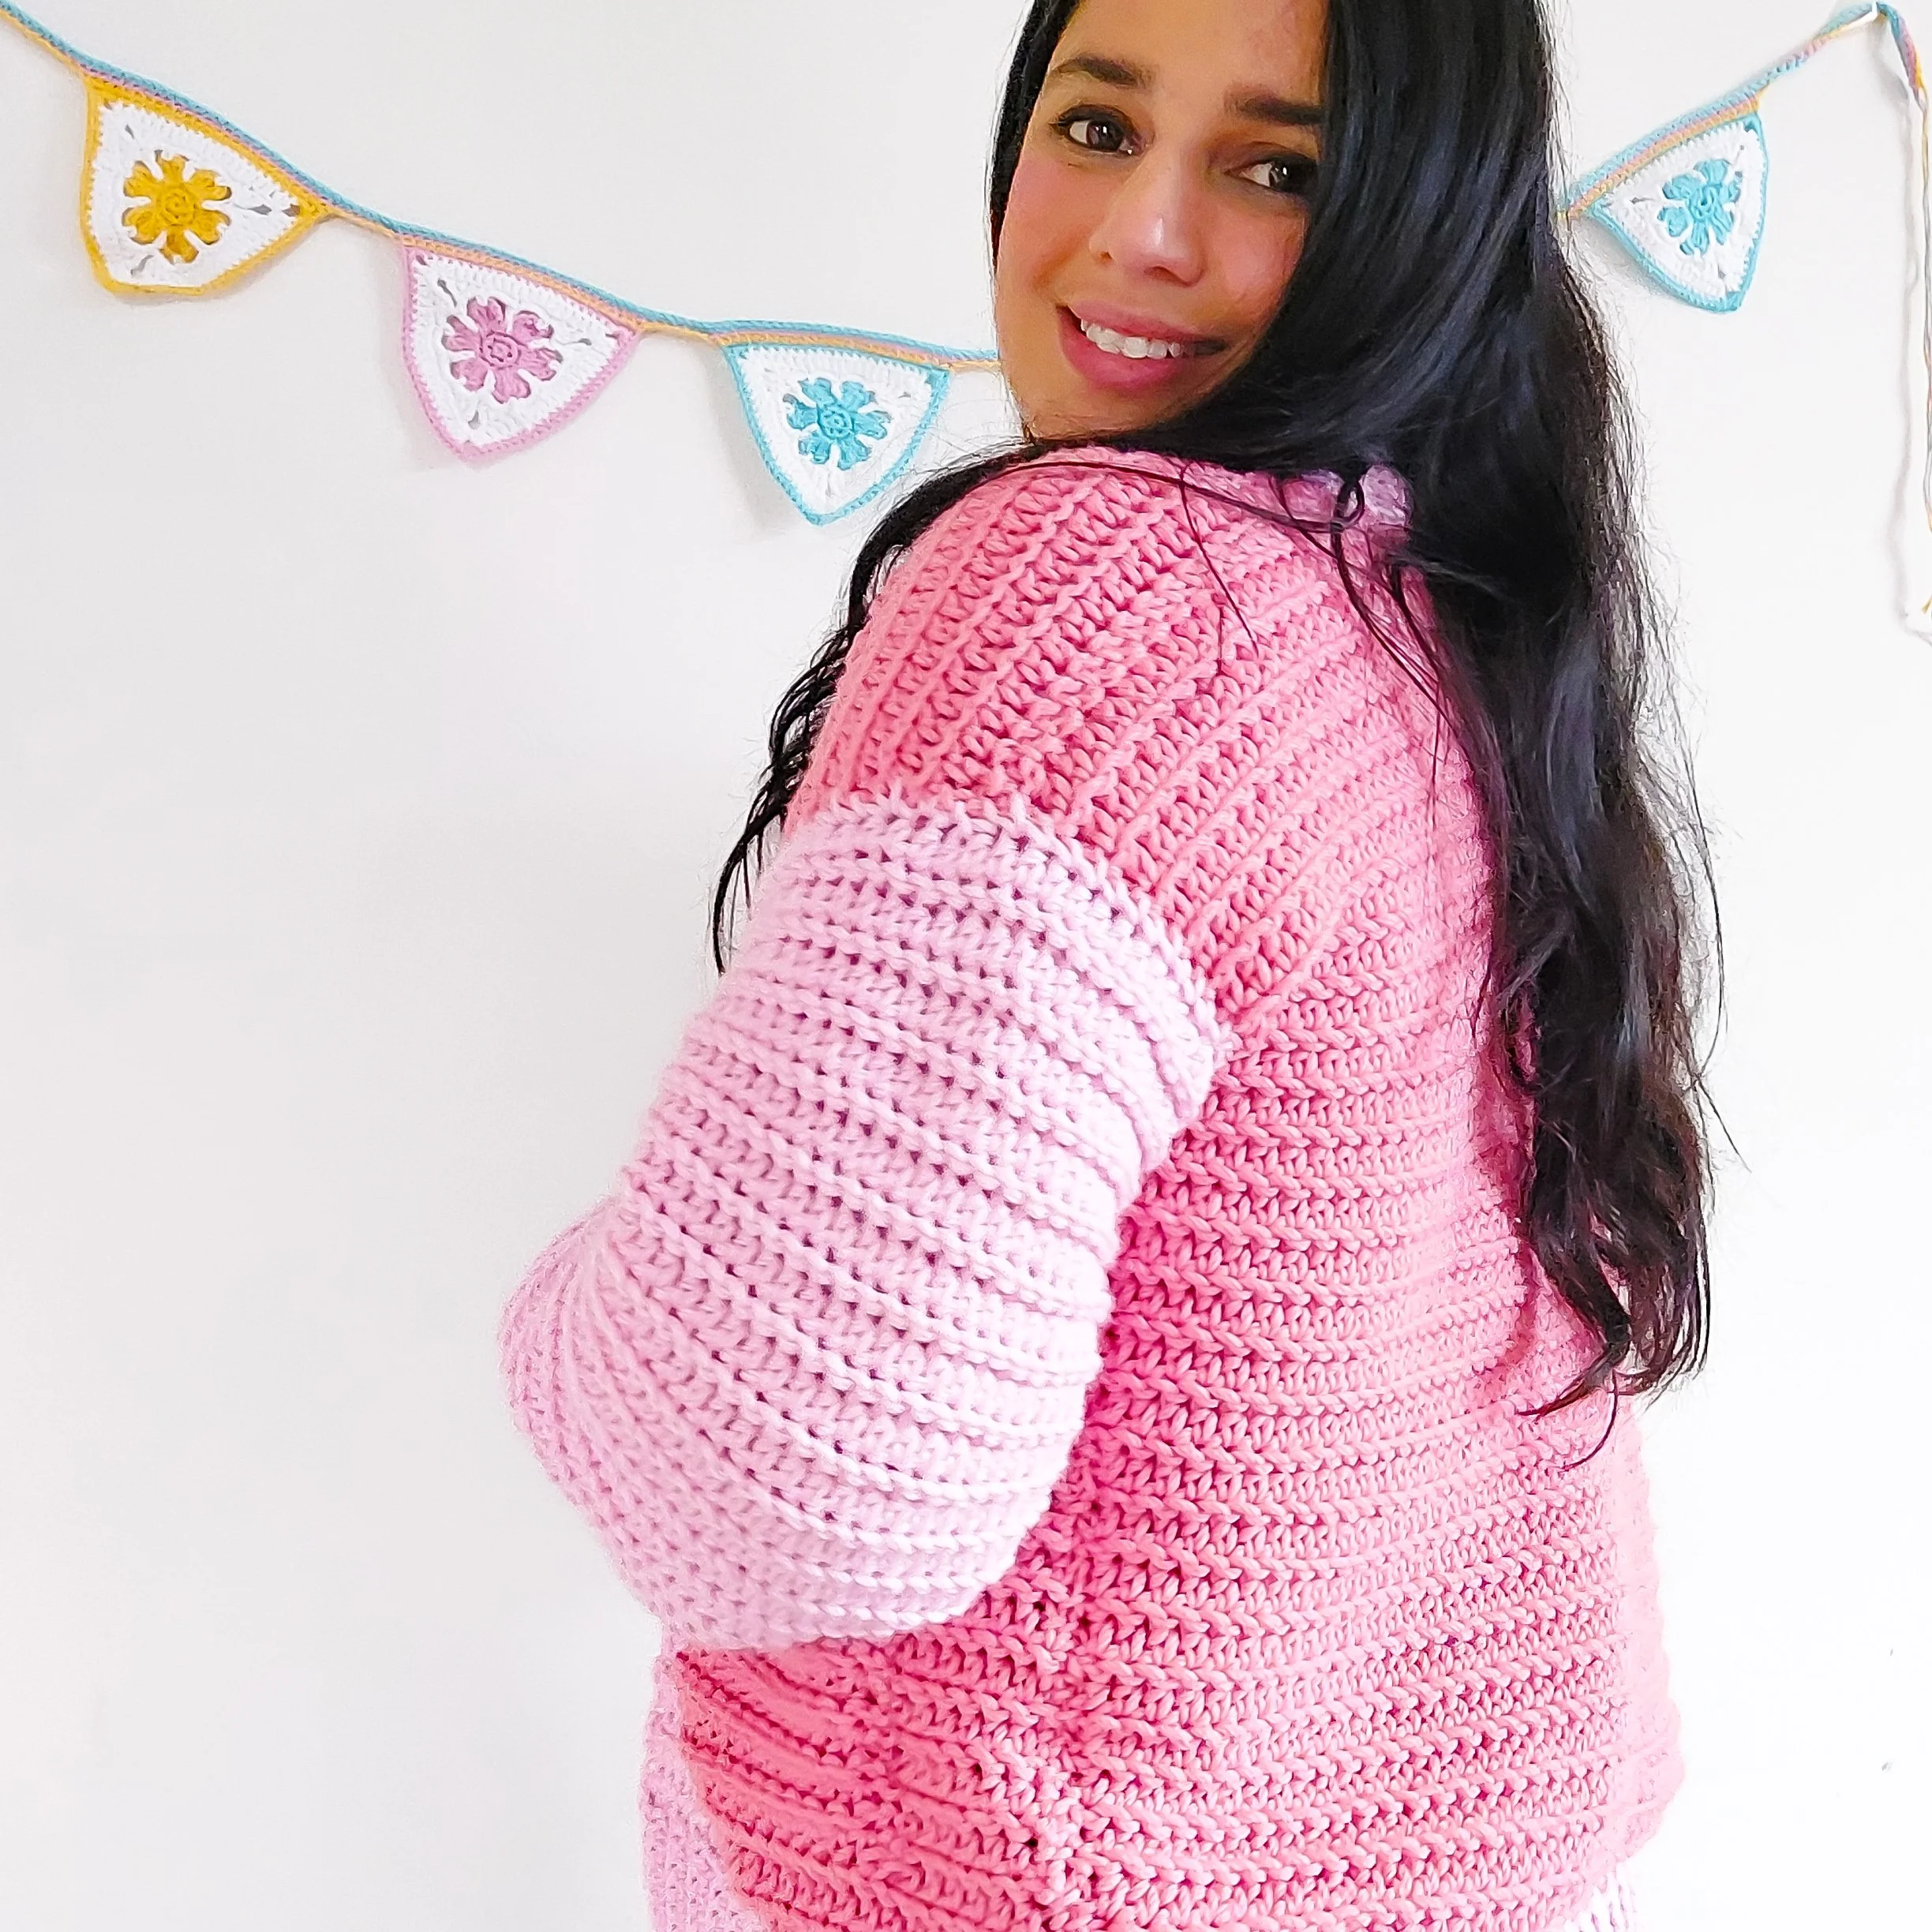
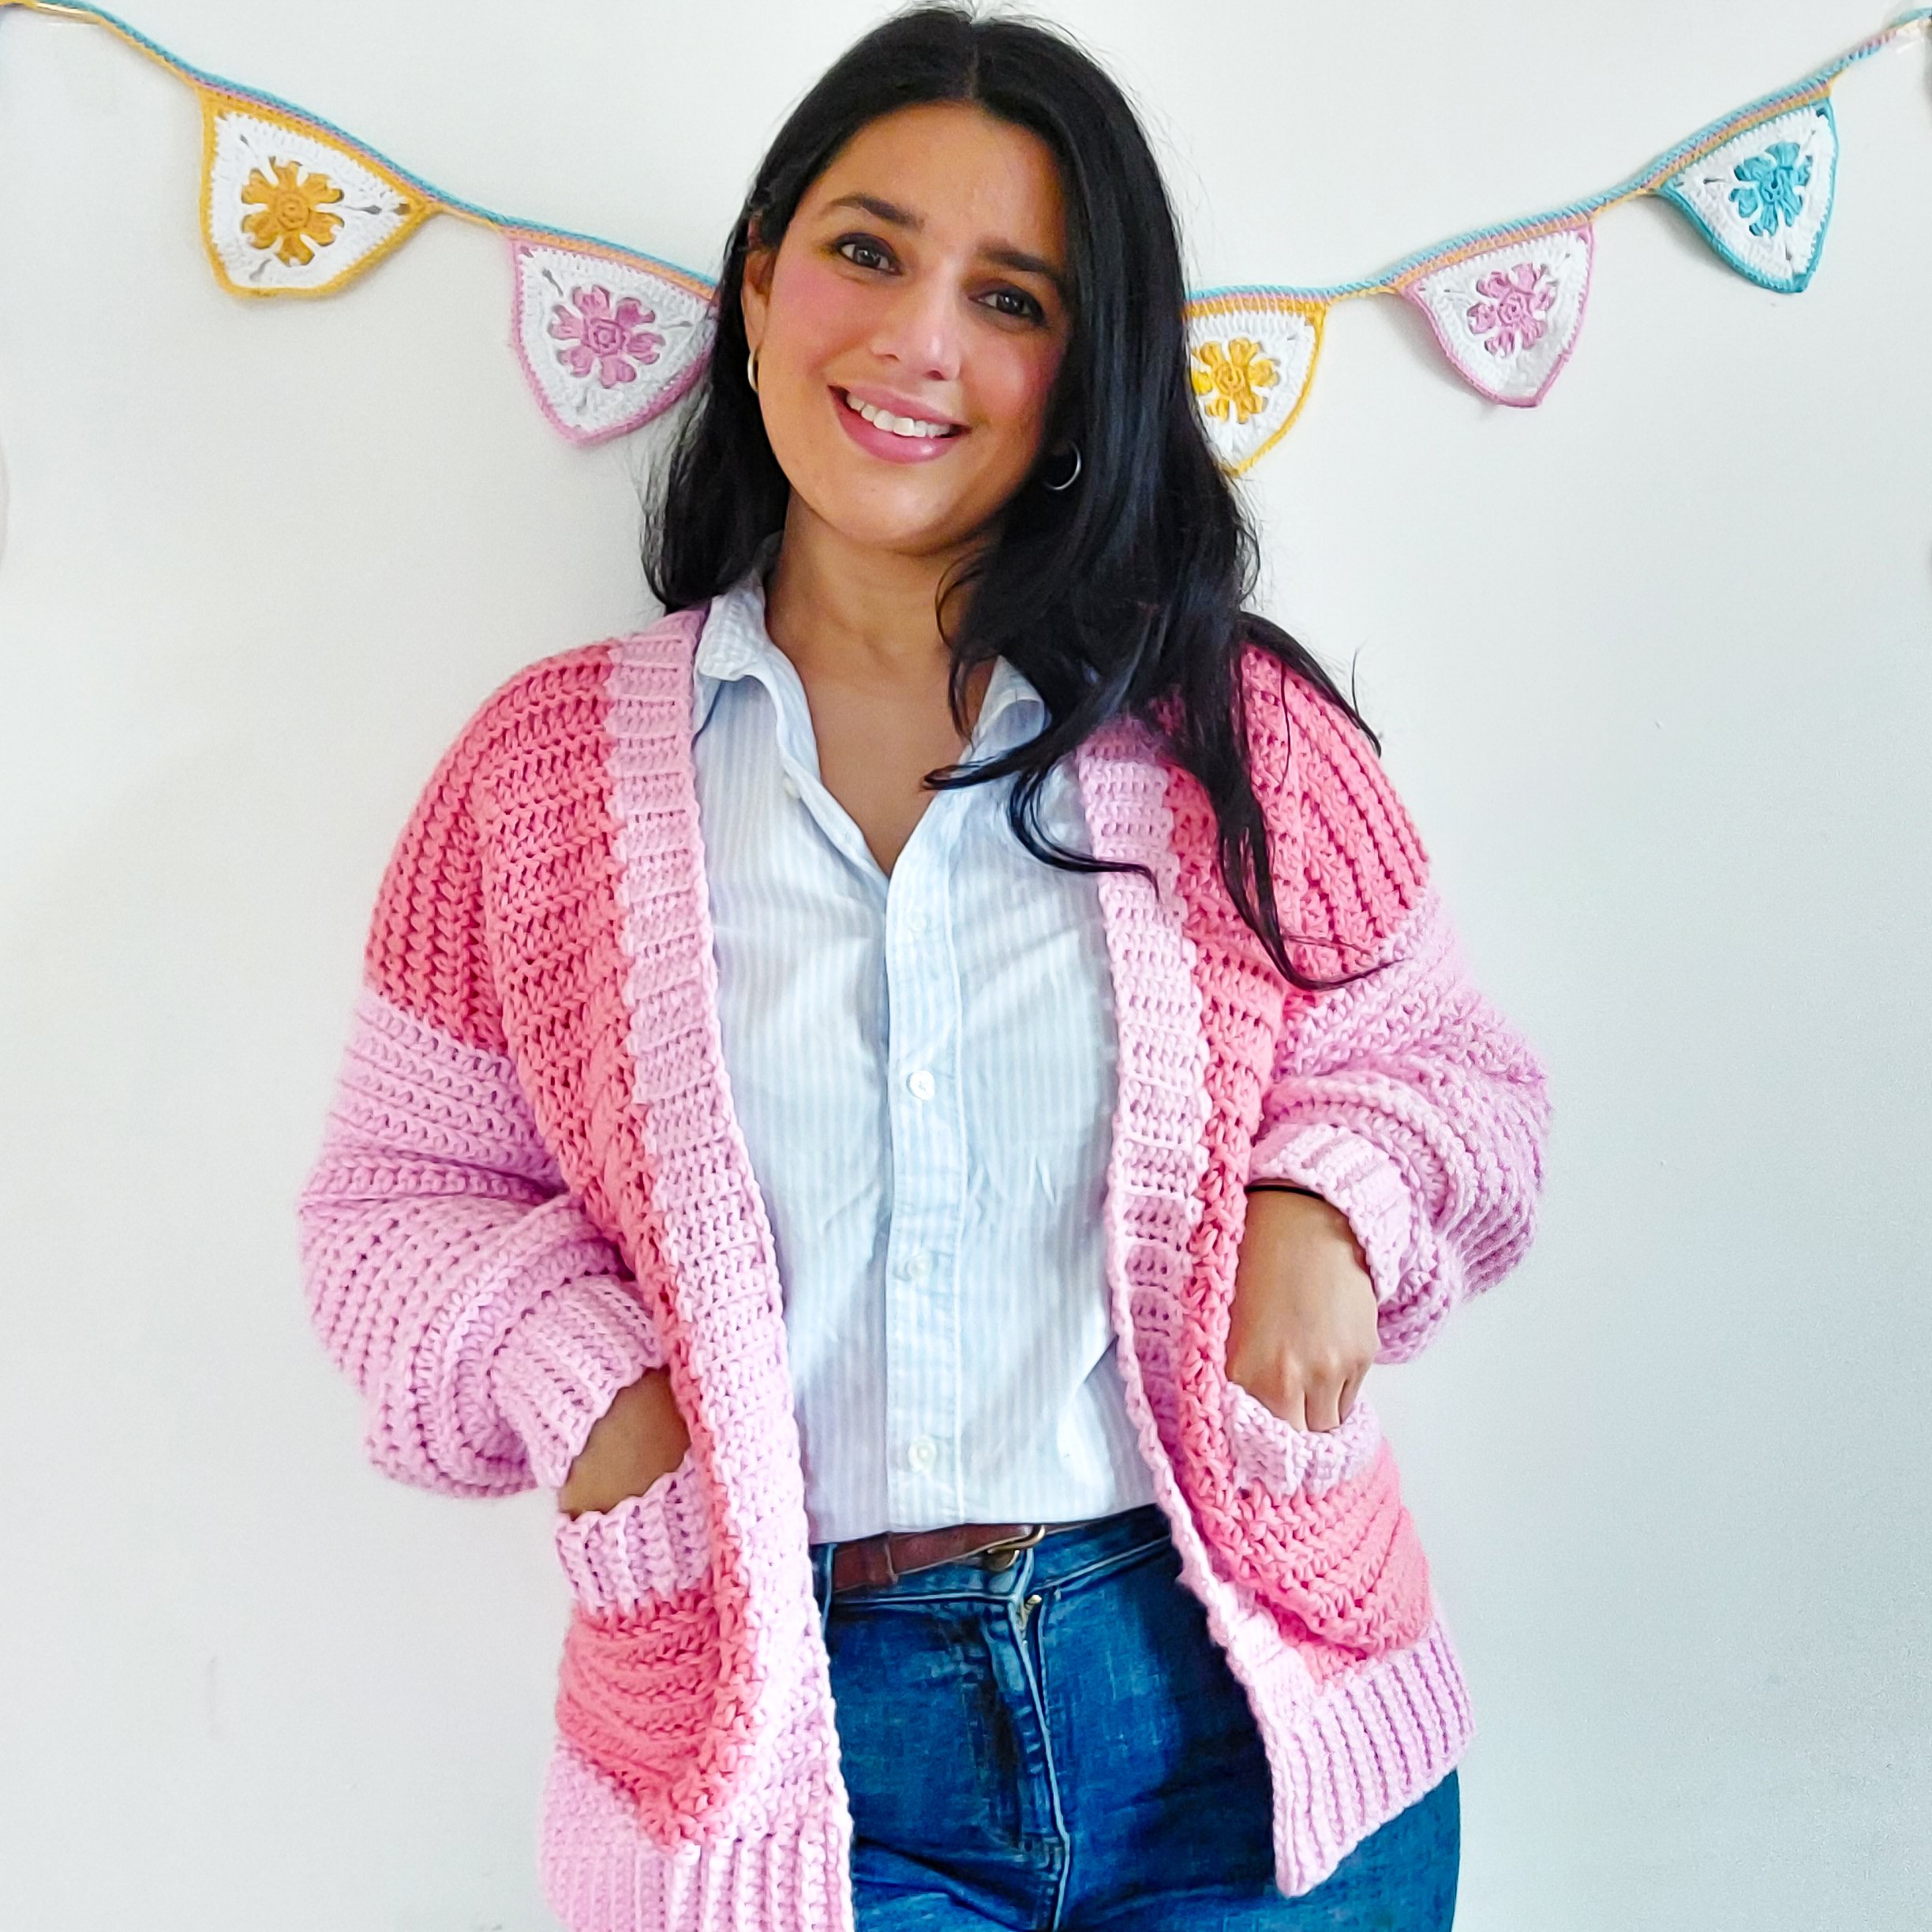
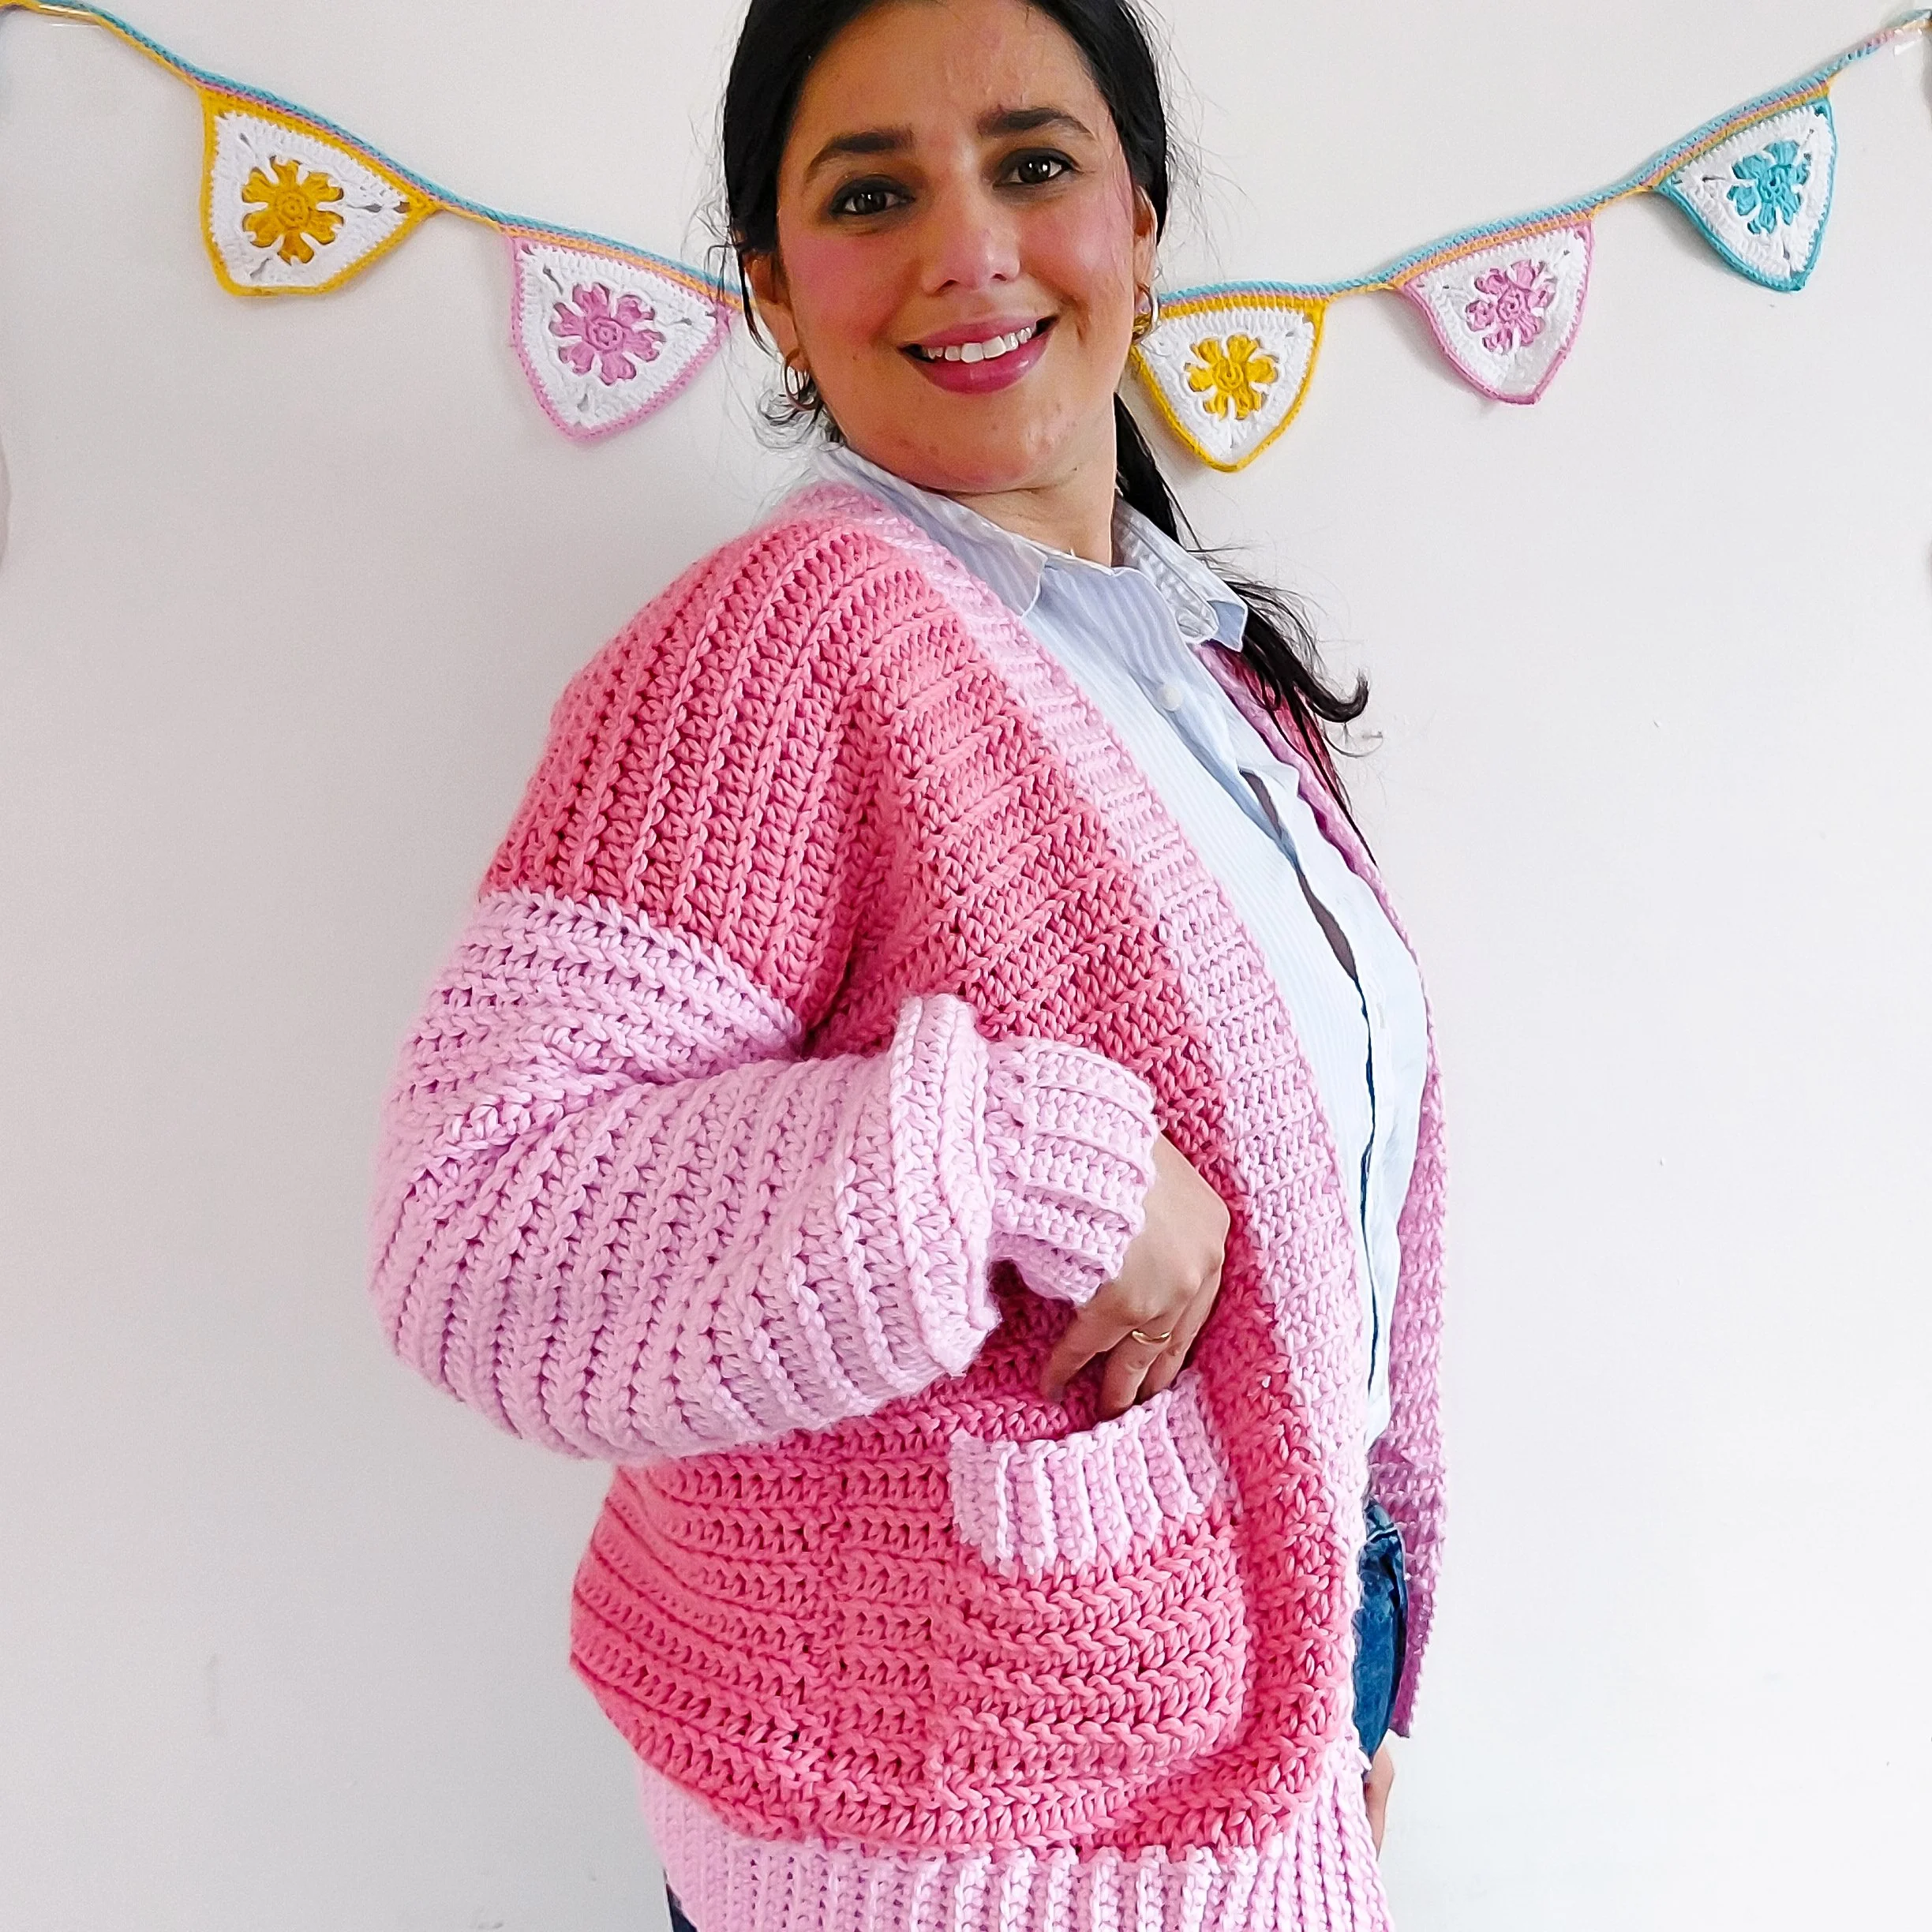
I’m so happy to introduce my newest crochet pattern :) The Bubblegum Cardigan is your go-to for cozy comfort on those crisp fall days. With its oversized design, loose and slouchy sleeves, this cardigan wraps you in warmth while keeping your style on point. The relaxed fit is perfect for layering up when the temperature drops, giving you plenty of room to stay snug without feeling restricted. Whether you’re pairing it with your favorite jeans for a laid-back vibe or draping it over a flowy dress for a touch of casual elegance, this cardigan effortlessly complements your autumn wardrobe. It’s like a warm hug you can wear all season long!
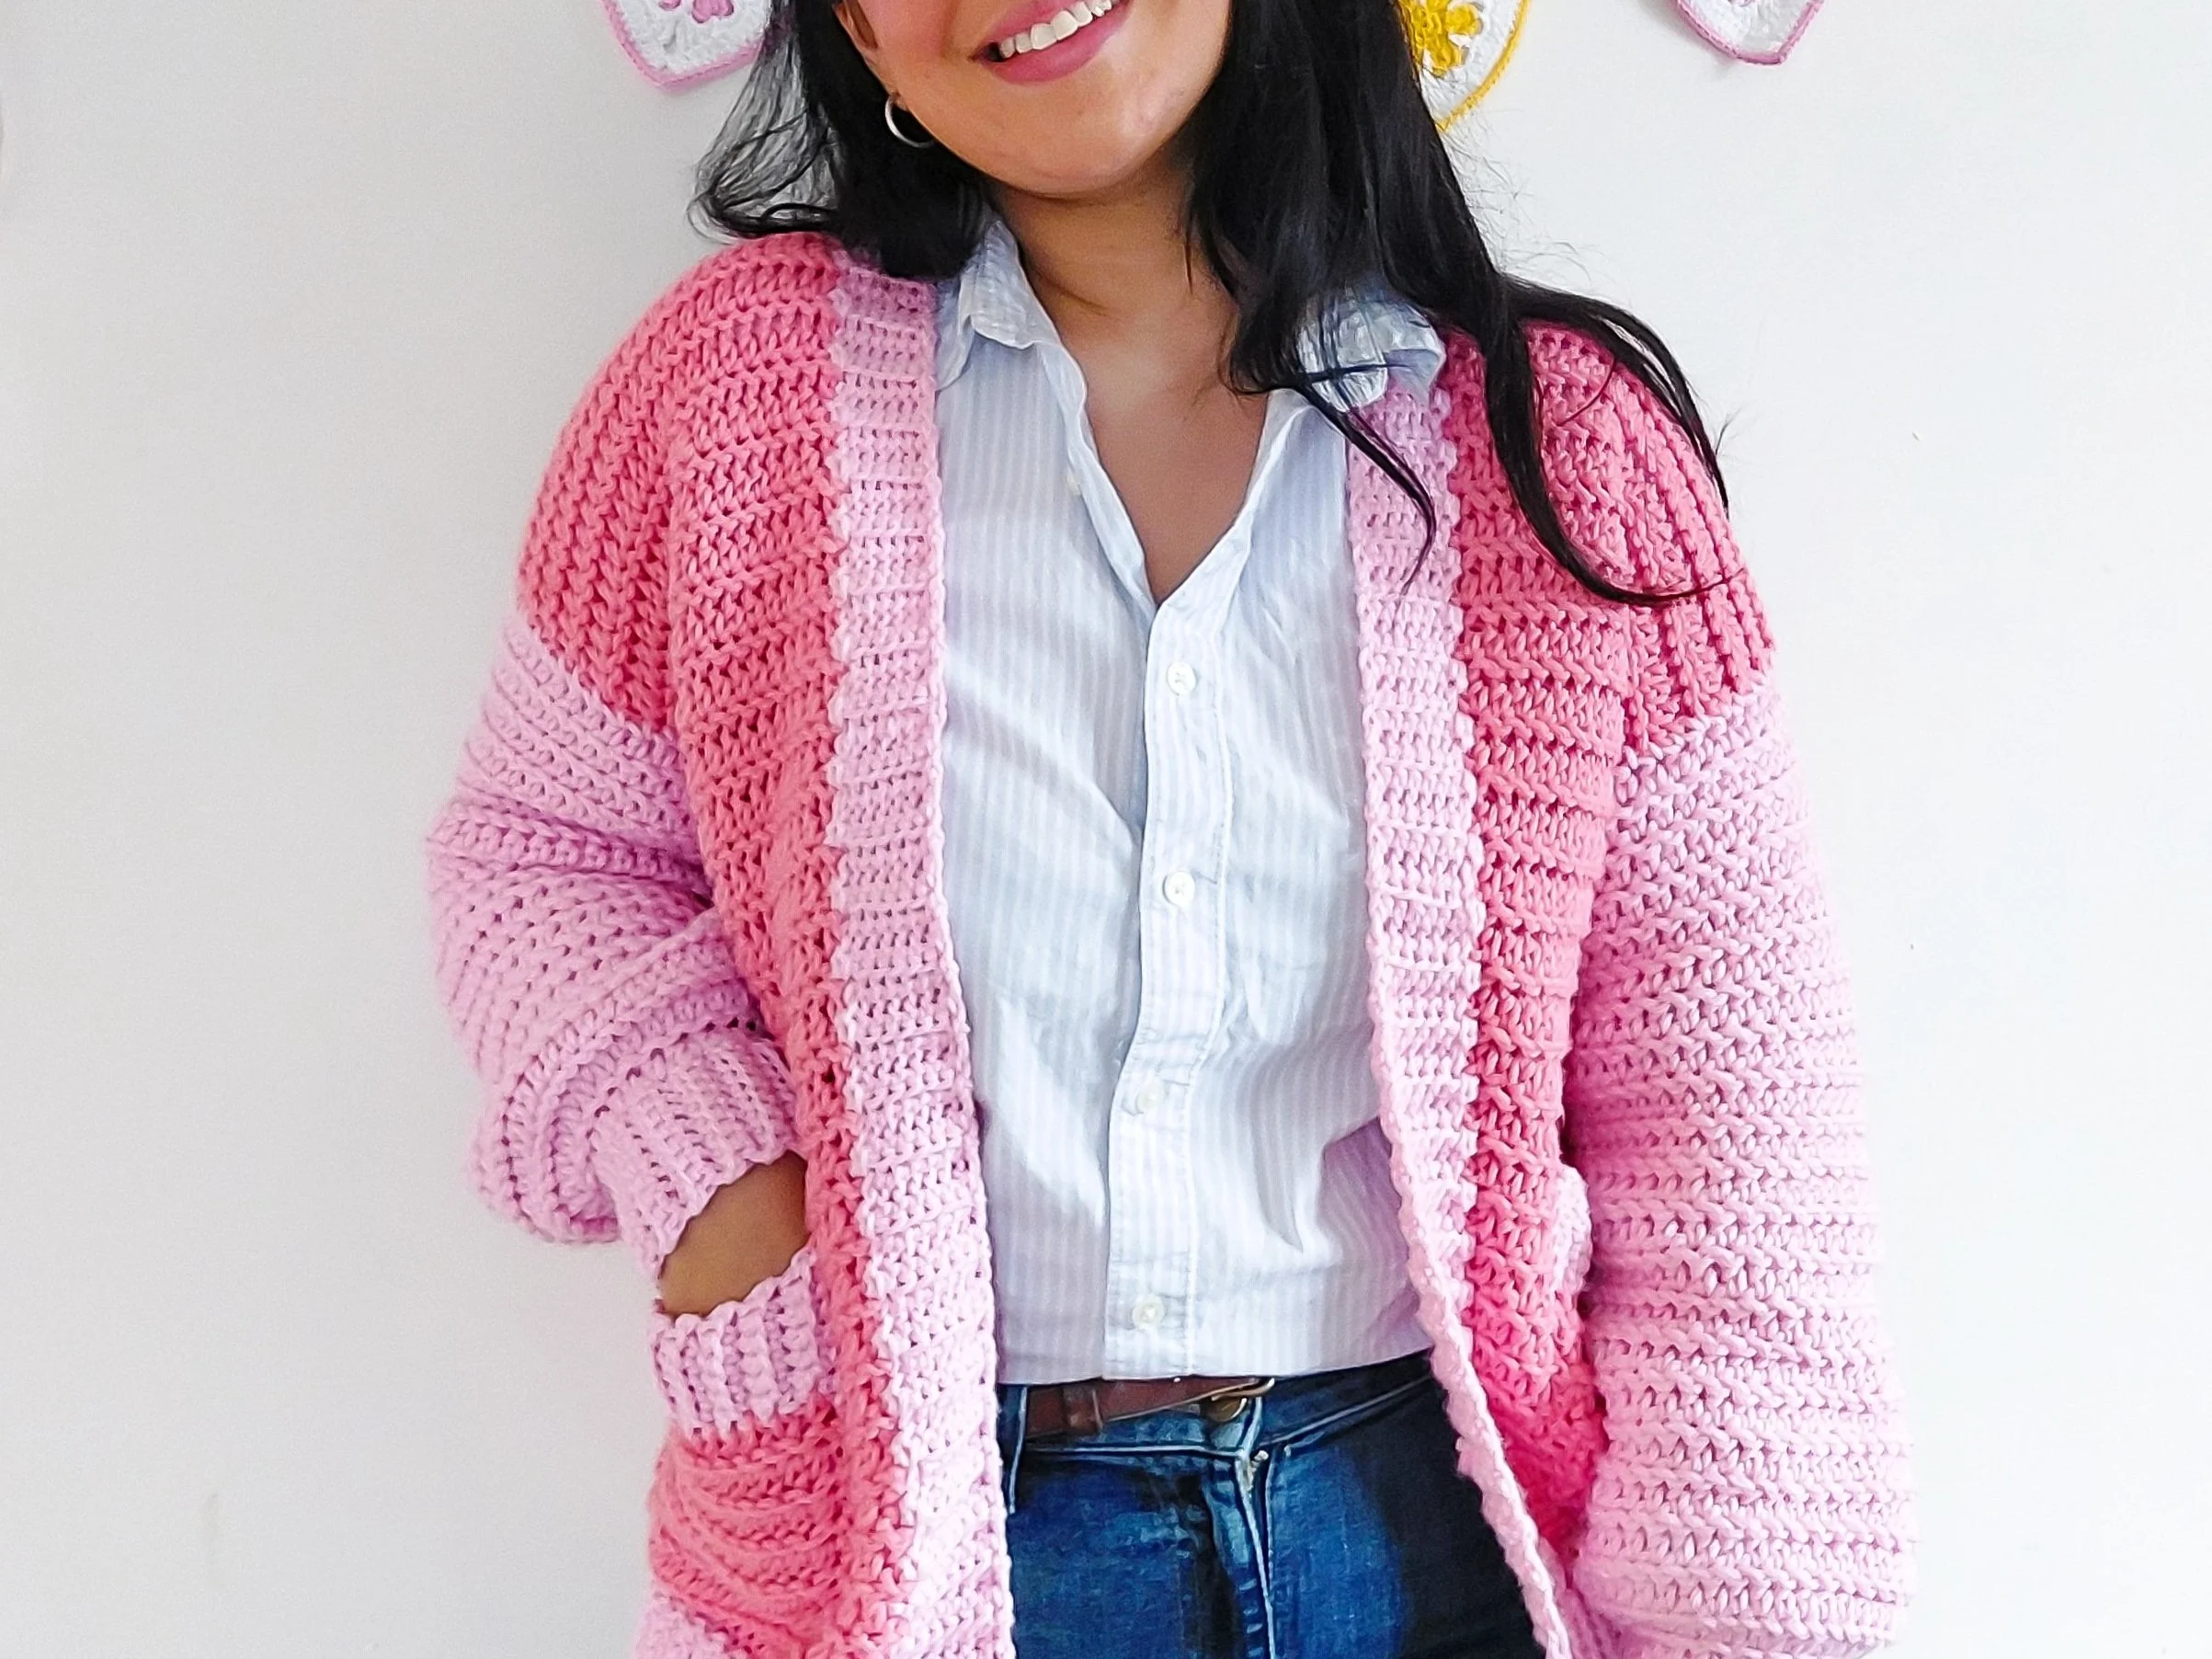
This simple crochet cardigan also features two handy pockets that can fit a full-sized smartphone inside. Worked up in half double crochet and slip stitch, the Bubblegum Cardigan is a wonderful easy crochet cardigan pattern that is great for first time or beginner crochet garment makers!
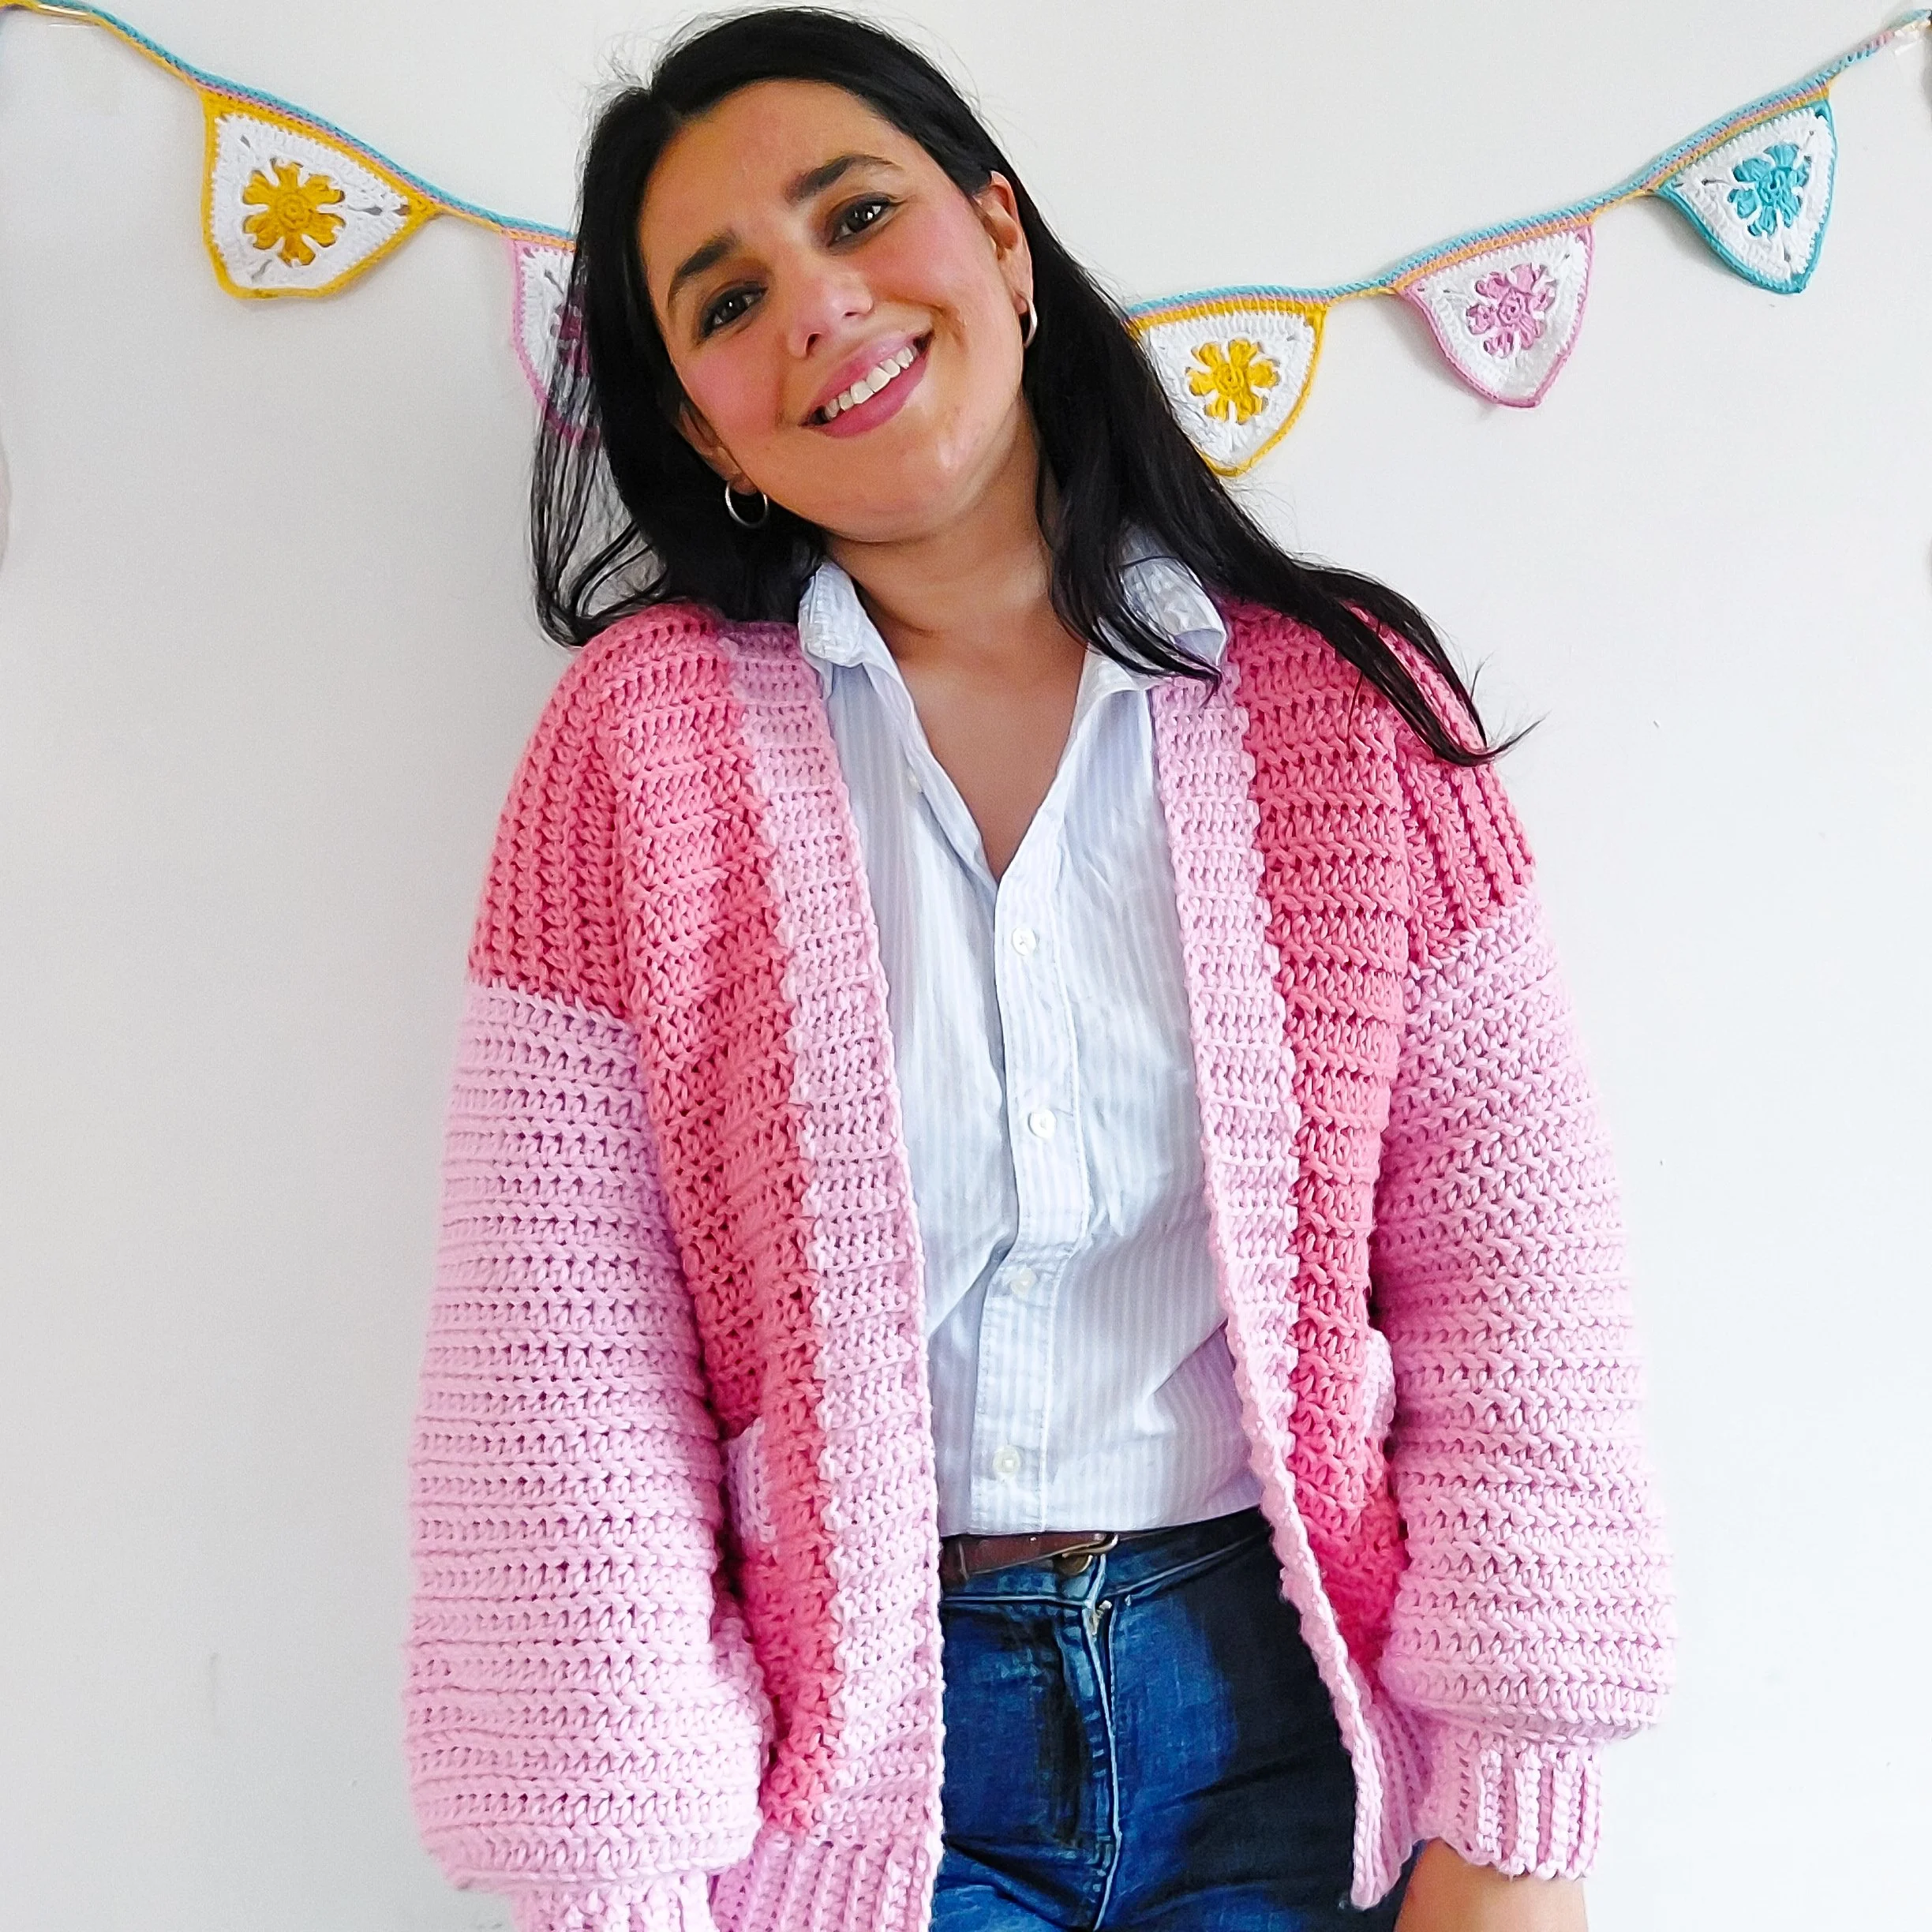
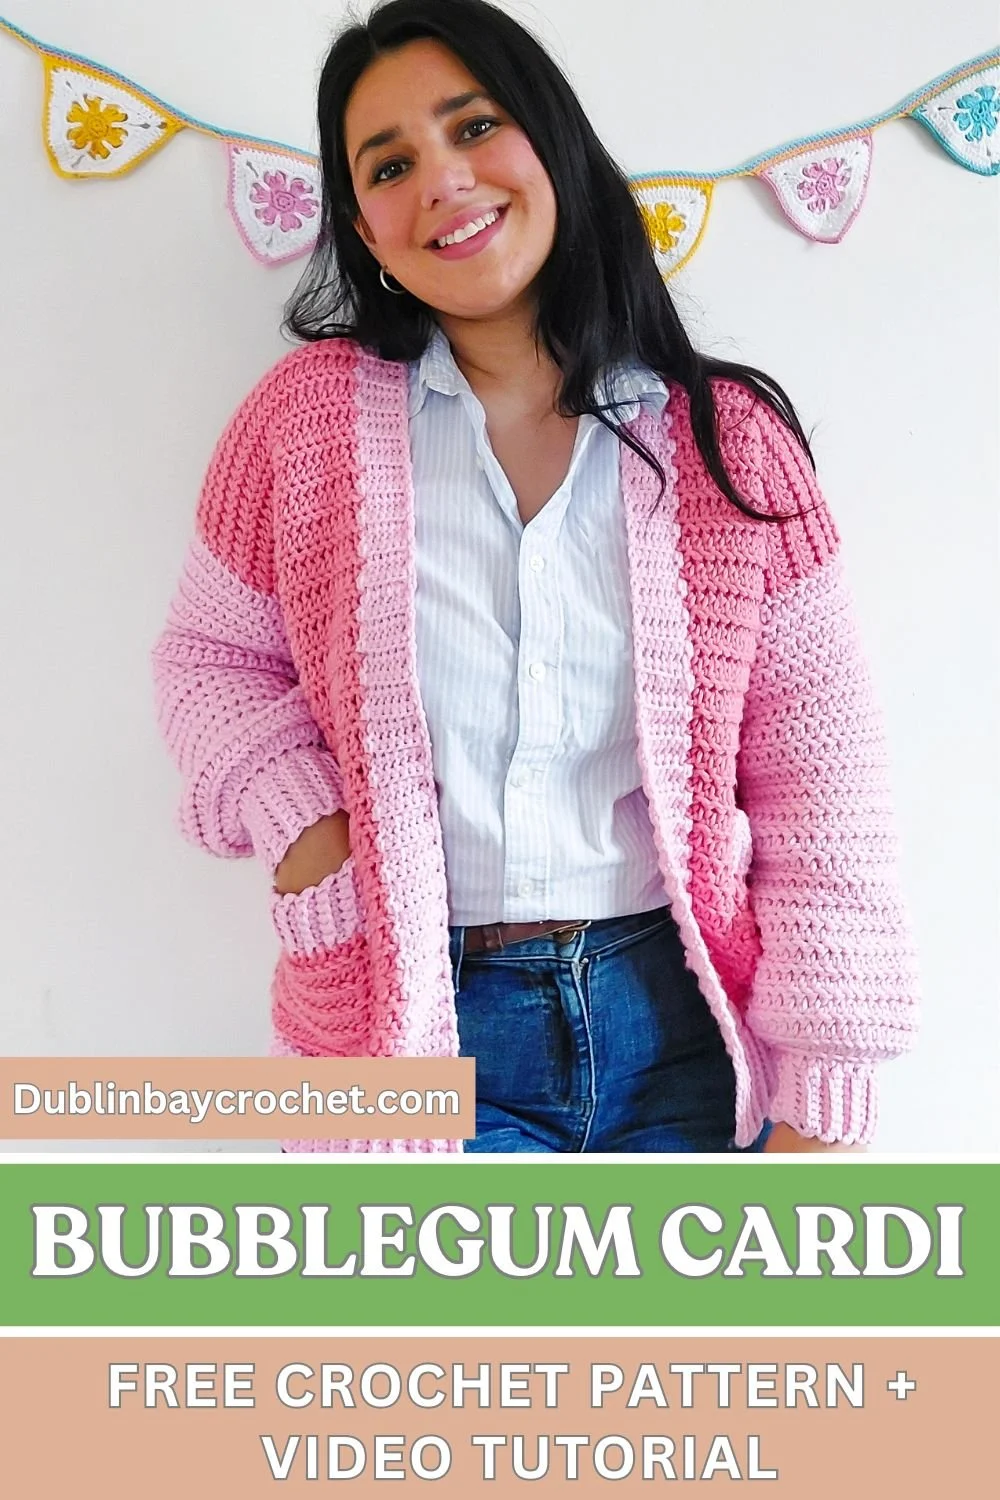
Every wardrobe deserves a chunky cardigan. Create a layered look for fall and winter with the Bubblegum Cardi. The overall feel is comfy and cozy without being too heavy. The cardigan is constructed in simple pieces, then seamed together. The thick neckline ribbing and deep pockets are the finishing touches. Start your Bubblegum Cardi project now with this free crochet pattern and video tutorial.
Get the bubblegum Cardi
FREE PATTERN: Keep scrolling for the FREE version of the Bubbegum Cardi + helpful video tutorial.
PRINTABLE PDF: Pick up the beautifully formatted, ad-free PDF version of the Bubblegum Cardi from Ravelry or My Etsy Shop.
Pin it now, crochet it later!
Beginner Chunky Crochet Cardigan
It’s truly inspiring to see beginners tackle a chunky crochet cardigan as their very first project. Although it's often suggested to start with simpler items like washcloths, there's nothing stopping you from jumping right into creating a cardigan or sweater. Taking on a larger project from the beginning can be an adventurous and satisfying way to dive into crochet!
MY LATEST VIDEOS
What I love the most about the Bubblegum Cardi is how simple it is. Start by making the five panels – 2 Fronts, 1 Back, and 2 Sleeves. Seam them together, then work the the ribbed opening directly into the cardigan and two pockets and you have a cardigan that you can wear!
INSPIRATION
I've always admired chunky knitted sweaters, so I decided to create my own version using crochet! I was so fortunate to receive this beautiful chunky yarn, but I quickly realized I didn’t have enough to make a full sweater. With only three balls of light pink and three balls of fuchsia, I had to get creative. After experimenting with various stitch samples to ensure I had enough yarn, I finally discovered the perfect knit-look stitch pattern. It was exactly what I needed to achieve the look I had envisioned for my sweater!
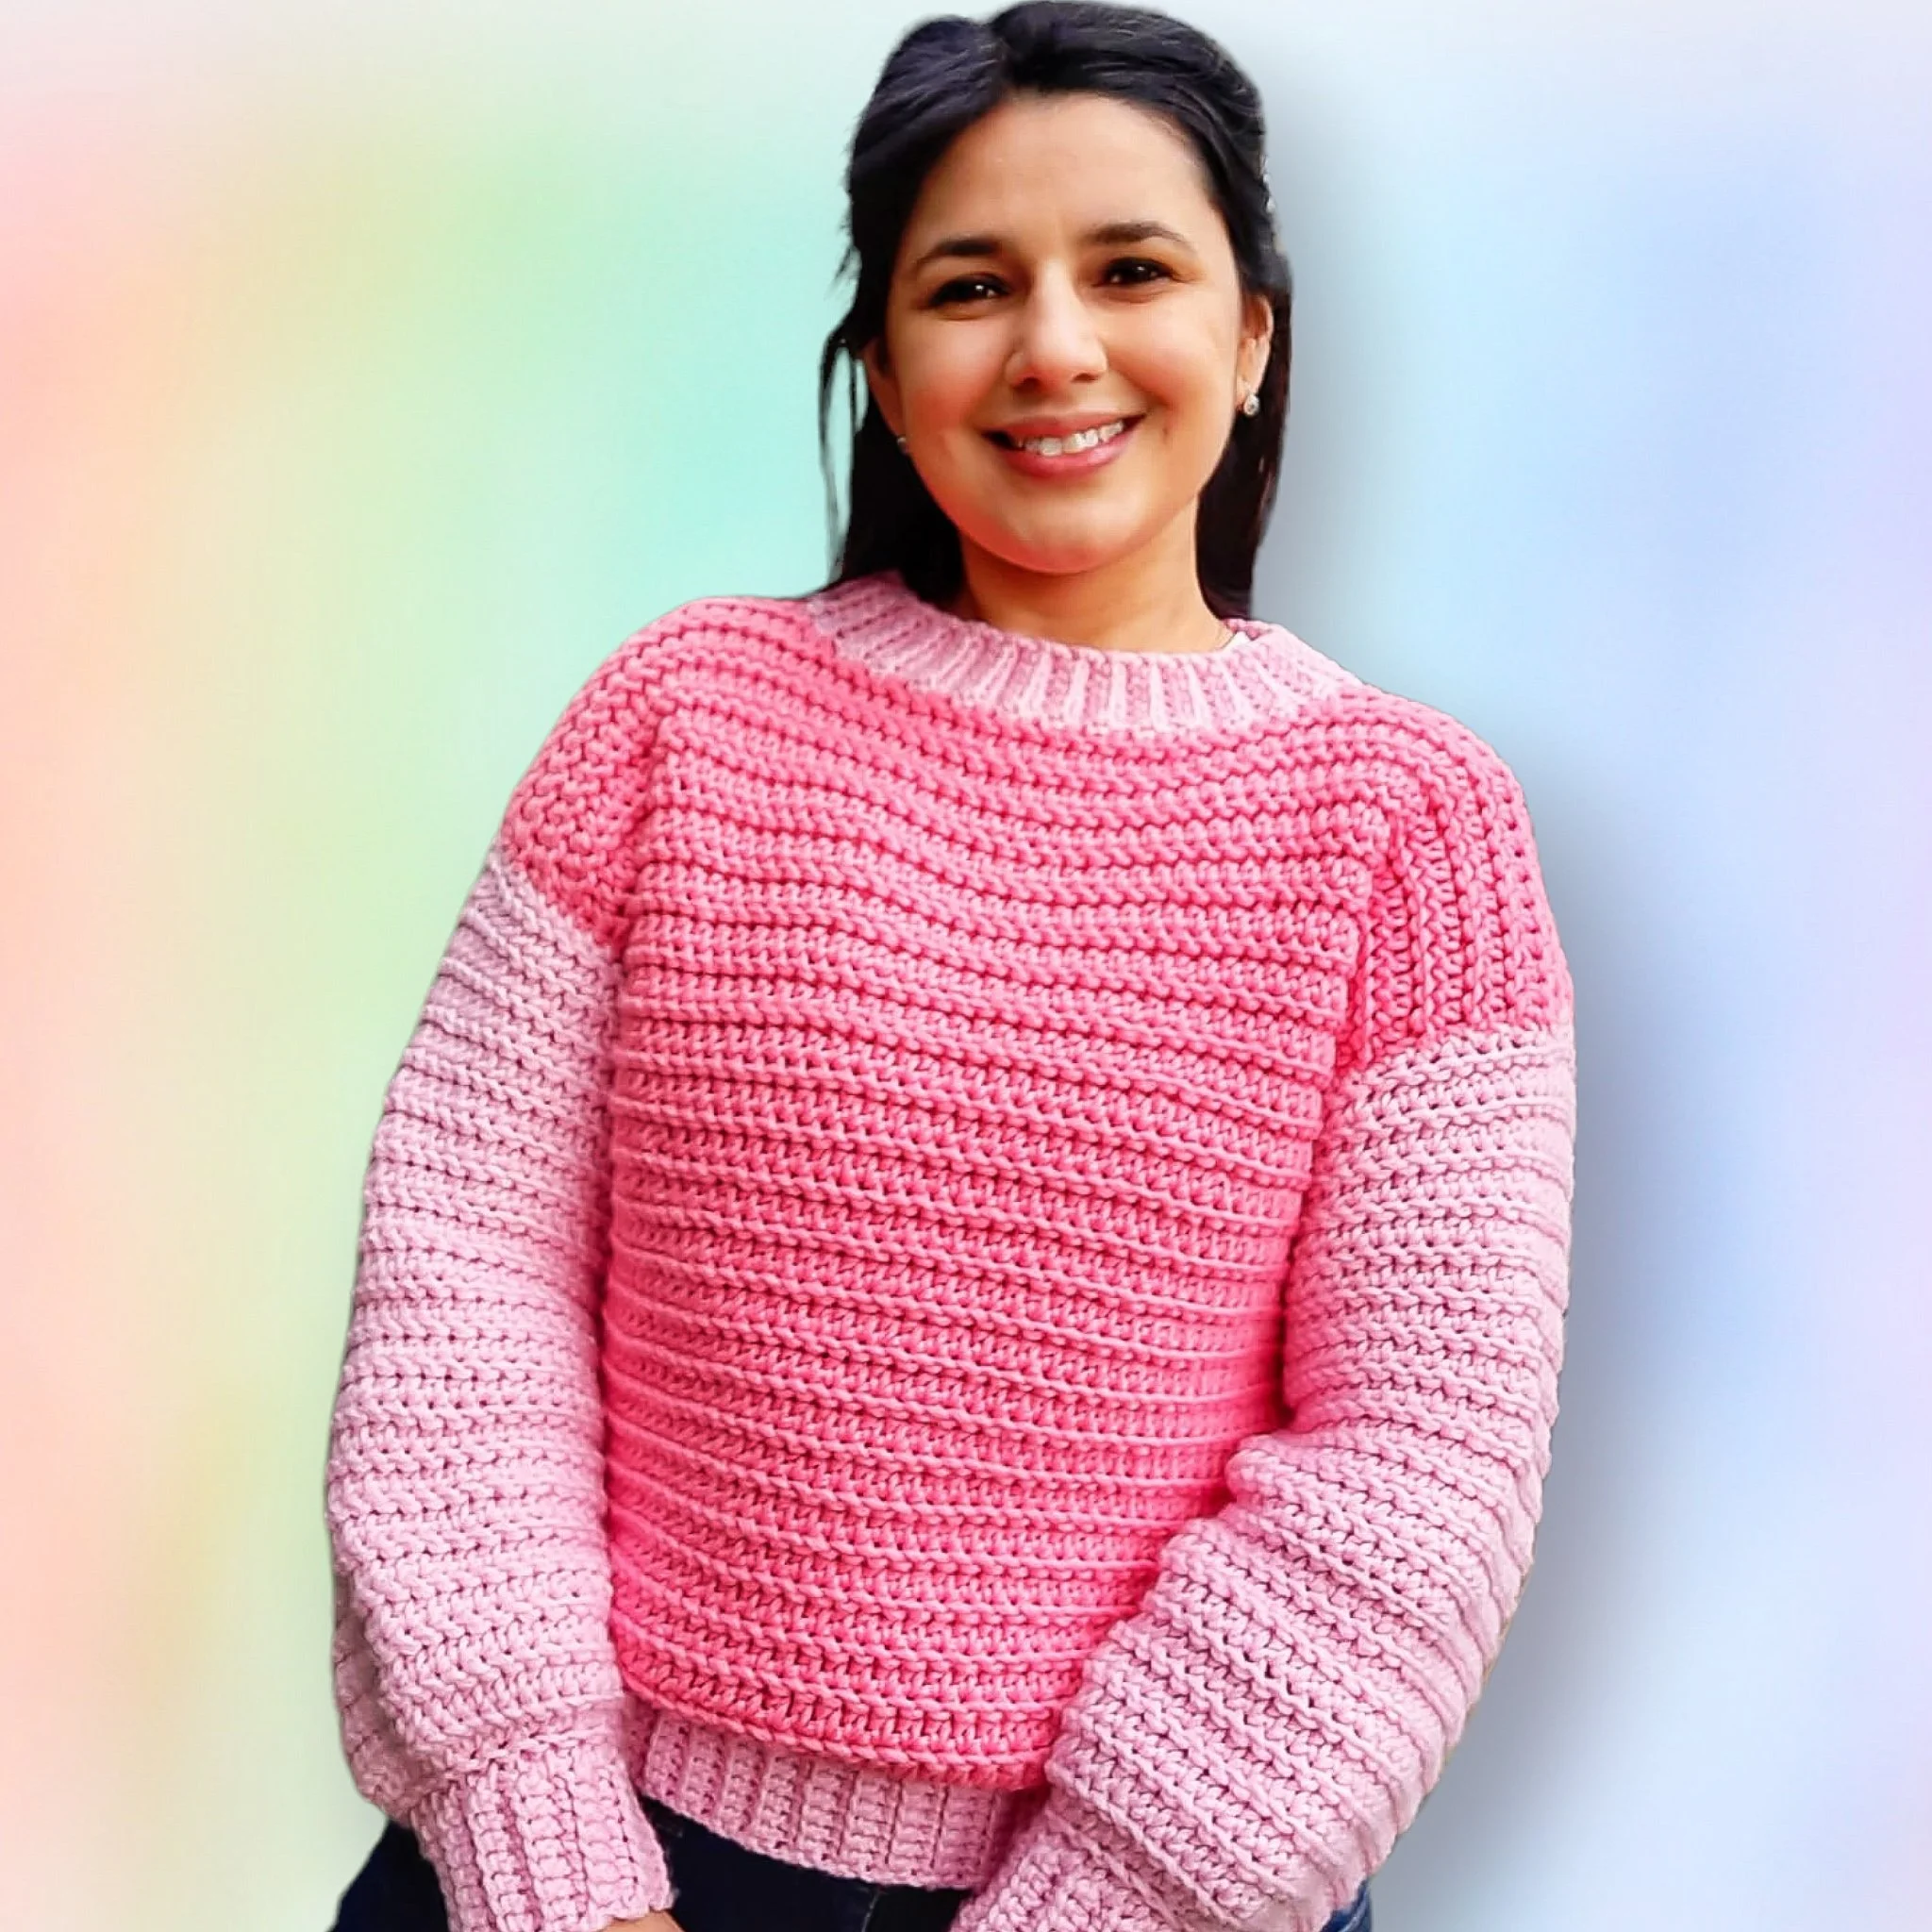
Introducing the Bubblegum Sweater! This was my very first crochet sweater pattern, and since its debut in 2021, it has become one of my bestsellers. Inspired by chunky crochet designs, I wanted to create a cardigan that was both cute and cozy, and I'm thrilled with how it turned out! I'm so pleased with the finished look that I'm already planning my next project. This time, I'll be using a single color, making it longer, and adding buttons for a new twist on this beloved design!
I always wanted to host a Crochet Along (CAL) but I never knew how or what to do so I think this project would be ideal! Let me know if you would like to crochet with me the new version of this sweater :)
Get the bubblegum Cardi
FREE PATTERN: Keep scrolling for the FREE version of the Bubbegum Cardi + helpful video tutorial.
PRINTABLE PDF: Pick up the beautifully formatted, ad-free PDF version of the Bubblegum Cardi from Ravelry or My Etsy Shop.
Bubblegum Cardi Details
No matter where your day takes you—whether it's brunch with friends, waiting in the school pickup line, or a quick trip to check the mail—a chunky crochet cardigan is the perfect companion. The Bubblegum Cardi offers an oversized, open-front design with a ribbed collar and snug pockets, making it both stylish and practical. Ideal for beginners, this project uses chunky yarn to create a cozy sweater in no time. Plus, it’s so quick to make, you can easily create one for yourself and another for your best friend!
MATERIALS
**Disclosure: As an Amazon Associate, I want to be transparent with our readers and let you know that I may earn a small commission from qualifying purchases made through the links below.
My recommendation of these products is solely based on their suitability for the pattern and not on the commission I may receive. I have personally used and found these products to be the best option for this particular project.
Using these links greatly supports our work at Dublin Bay Crochet. We appreciate your consideration and continued support. Thank you!**
You will need:
Any chunky yarn (Rico Essentials mega wool chunky; Chunky; 125 m per 100gr ball; 55% wool, 45% acrylic)
Other Yarn Options:
Permissions + Copyright:
Please do not publish or share this pattern as your own. You may make items to sell with this pattern. In exchange, please link back this post. Do NOT use our photos as your own sales photos.
Abbreviation - This pattern uses American Terms
Ch- Chain
St- Stitch
Beg- Beginning
Rnd- Round
RS- Right side
WS- Wrong side
BLO- Back loop only
Sl st- Slip stitch
Sc- Single crochet)
Hdc- Half double crochet
Dc- Double crochet
Hdc2tog- Half double crochet 2 together
TENSION AND STITCH PATTERN
11 sts x 11 rows in stitch pattern = 10 x 10 cm
STITCH PATTERN -Start with any number of chains (for swatch, ch 16)
Row 1: 1 hdc in 2nd ch from hook, 1 hdc in each ch across, turn. (Swatch has 15 hdc)
Row 2: 1 ch, sl st in BLO in first hdc, sl st in BLO in each stitch across, turn.
Row 3: 1 hdc in each st across, turn.
Row 4: 1 ch, sl st in BLO in first hdc, sl st in BLO in each stitch across, turn.
Rows 5 to 16: Repeat rows 3 and 4.
SIZES AND MEASUREMETS:
XS (S, M, L, XL, XXL) Cardigan is designed to be worn with approx. 7-19 cm/2.5 -7.5 inches of positive ease.
Finished Bust: 45 (48, 53, 58, 62, 68) cm 18 (19, 21, 23, 24, 27) inches
Length: 53 (53, 55, 55, 57, 57) cm 21 (21, 21.5, 21.5, 22, 22) inches
Bubblegum Cardigan Pattern
Let’s make the Bubblegum Cardi together! Follow along in this tutorial video:
Start Here:
BACK
Using 7mm hook and colour A, chain 51 (54, 59, 65, 69, 76)
Row 1: Starting in 2nd ch from hook, 1 hdc in each ch across, turn your work. 50 (53, 58, 64, 68, 75) sts.
Row 2: 1 ch (do not count as a st here and throughout), 1 sl st in BLO across, turn your work. 50 (53, 58, 64, 68, 75) sts
(I suggest using a stitch marker to mark the 1st and last stitch of the sl st rows as it can be quite hard to identify the stiches.)
Row 3: 1 ch, 1 hdc across, turn your work. 50 (53, 58, 64, 68, 75) sts
Row 4: 1ch, 1 sl st in BLO across, turn your work. 50 (53, 58, 64, 68, 75) sts
Rows 5-50, (50, 52, 52, 54, 54): Repeat rows 3 and 4. 50 (53, 58, 64, 68, 75) sts
Row 51, (51, 53, 53, 55, 55): 1 ch, 1 hdc across. Fasten off. 50 (53, 58, 64, 68, 75) sts
FRONT - make two
Using 7mm hook and colour A, chain 21 (23, 25, 28, 30, 34)
Rows 1 to 51, (51, 53, 53, 55, 55): Follow the same steps for Back section.
At the end of each row you should have 20 (22, 24, 27, 29, 33) sts in total.
Sleeves (make 2) Ribbing and Cuff
With 6mm crochet hook and colour B, chain 9.
Row 1: Starting in 2nd ch from hook, 1 sc across, 1 ch and turn. 8 sc
Row 2: 1 sc in BLO across, 1 ch and turn. 8 sc
Row 3- 20 (22, 24, 26, 27, 28): Repeat row 2. 8 sc
Join ribbing along short side with sl st through both thicknesses across. Do not fasten off.
Switch to 7 mm crochet hook
Row 1 (RS): Working around row edges of ribbing, evenly work 20 (21, 22, 23, 24, 25) hdc, join with sl st to beg hdc to start working on the round, 1 ch and turn.
Always turn your work at the end of each round. (you will decrease 1 st for size S, 2 sts for size M, 3 sts for size L, 3 sts for size XL and 3 sts for size 2XL in order to get the correct amount of sts for round 1 of the sleeve)
*I recommend using a stitch marker to mark the 1st and last st of each round as it can be difficult to identify them.
Rnd 2 (WS): Sl st in BLO across, join with sl st to beg sl st, 1 ch, turn. 20 (21, 22, 23, 24, 25) sts.
Rnd 3: (Inc) 2 hdc in each st around, join with sl st to beg hdc, 1 ch, turn. 40 (42, 44, 46, 48, 50) sts.
Rnd 4: Sl st in BLO across, join with sl st to beg sl st, 1 ch, turn. 40 (42, 44, 46, 48, 50) sts.
Rnd 5: Hdc around, join with sl st to beg hdc, 1 ch, turn. 40 (42, 44, 46, 48, 50) sts
Rnd 6-10: Repeat rounds 4-5. 40 (42, 44, 46, 48, 50) sts
ONLY XS
Rnd 11: (dec) Hdc around to last 2 sts, hdc2tog, join with sl st to beg hdc, 1 ch, turn. 39 sts
Rnd 12: (dec) Sl st in BLO around to last st, miss last st, join with sl st to beg sl st, 1 ch, turn. 38 sts
Rnd 13: As round 11. 37 sts
Rnd 14: Sl st in BLO across, join with sl st to beg sl st, 1 ch, turn. 37 sts
Rnd 15: Hdc around, join with sl st to beg hdc, 1 ch, turn. 37 sts
Rnd 16: Sl st in BLO around, join with sl st to beg sl st, 1 ch, turn. 37 sts
Rnd 17: Hdc around, join with sl st to beg hdc, 1 ch, turn. 37 sts
Rnd 18-41: Repeat rounds 16-17. Fasten off. 37 sts
ONLY S
Rnd 11: Hdc around to last 2 sts, hdc2tog, join with sl st to beg hdc, 1 ch, turn. 41 sts
Rnd 12: Sl st in BLO around to last st, miss last st, join with sl st to beg sl st, 1 ch, turn. 40 sts
Rnd 13: As round 11. 39 sts
Rnd 14: Sl st in BLO around, join with sl st to beg sl st, 1 ch, turn. 39 sts
Rnd 15: Hdc around, join with sl st to beg hdc, 1 ch, turn. 39 sts
Rnd 16- 43: Repeat rounds 14-15. Fasten off. 39 sts
ONLY M
Rnd 11: Hdc around to last 2 sts, hdc2tog, join with sl st to beg hdc, 1 ch, turn. 43 sts
Rnd 12: Sl st in BLO around to last st, miss last st, join with sl st to beg sl st, 1 ch, turn. 42 sts
Rnd 13: Hdc around, join with sl st to beg hdc, 1 ch, turn. 42 sts
Rnd 14: Sl st in BLO around, join with sl st to beg sl st, 1 ch, turn. 42 sts
Rnd 15: Hdc around, join with sl st to beg hdc, 1 ch, turn. 42 sts
Rnd 16- 43: Repeat rounds 14-15. Fasten off. 42 sts
ONLY L (XL)
Rnd 11: Hdc around to last 2 sts, hdc2tog, join with sl st to beg hdc, 1 ch, turn. 45 (47) sts
Rnd 12: Sl st in BLO around, join with sl st to beg sl st, 1 ch, turn. 45 (47) sts
Rnd 13: Hdc around, join with sl st to beg hdc, 1 ch, turn. 45 (47) sts
Rnd 14- 45: Repeat round 12-13. Fasten off. 45 (47) sts
ONLY XXL
Rnd 11: Hdc around, join with sl st to beg hdc, 1 ch, turn. 50 sts
Rnd 12: Sl st in BLO around, join with sl st to beg sl st, 1 ch, turn. 50 sts
Rnd 13- 48: Repeat rounds 11- 12. Fasten off. 50 sts
assembly
Place your front panel on top of our back panel with the right sides touching. Using a yarn needle and colour A, whip stitch along shoulder seams. Repeat this once more to attach the second panel.
Fold your first sleeve in half so the long edges meet, and locate the centre point at the top edge-, line this up with the shoulder seam of the body so the right sides are together.
Use colour A and whip stitch to attach the sleeve to the body.
Repeat steps 2 and 3 for the other sleeve.
Fold the cardigan along the shoulder edge so that the wrong sides are touching and sew the underarm and side seams using colour A and a tapestry needle.
Neckline Ribbing-
With 6mm crochet hook and colour B, attach yarn to bottom corner space of right side panel. (see picture 1)
Row 1: 8 ch (see picture 2) 1 sc in second ch from hook and in each ch to end (7 sc) (see picture 3), sl st in same space where the yarn was attached (see picture 3), 1 sl st in next space on bottom edge (see picture 4), turn. 7 sc

Row 2: Miss 2 sl sts from previous row, 1 sc in BLO in each st to end, 1 ch, turn. 7 sc (See picture 5)
Row 3: 1 sc in BLO in each st to end, miss 2 sl st from previous row, 1 sl st in next 2 spaces of bottom edge, turn. 10 sc (See pictures 6 ,7 and 8)

Repeat rows 2-3 until entire neckline edge is covered.
Fasten off and weave in ends.
Bottom Ribbing
With 6mm crochet hook and colour B, attach yarn to bottom edge and work 11 ch. You should have 10 sc at the end of each row.
Follow the same steps for the neckline ribbing and work as many rows as necessary to cover the bottom of your cardigan.
Pockets
As with the sleeves, you will first work the ribbing of the pockets. Once the ribbing is completed, you will work the main body of the pockets and sew them to each front of the cardigan.
With 6 mm crochet hook and colour B, chain 7.
Row 1: Starting in 2nd ch from hook, 1 sc across, 1 ch and turn. 6 sts
Row 2: 1 sc in BLO across, 1 ch and turn. 6 sts
Row 3- 15: Repeat row 2. 6 sts
Change to 7 mm crochet hook and colour A.
Now you will work on the main body of the pockets.
Row 1: Working around row edges of ribbing, evenly distribute 13 hdc, 1 ch and turn. 13 sts
Row 2: Sl st in BLO across, 1 ch and turn. 13 sts
Row 3: 1 hdc across, 1 ch and turn. 13 sts
Rows 4-9: Repeat rows 2-3. 13 sts
Fasten off leaving a long tail of yarn (approx. 90cm/36”) for sewing.
Pocket Assembly
With the right side facing up, pin pockets to desired placement.
Using your tail of yarn, whip st around the edges of the pockets.
Weave in all of your ends. Steam and block.

That was fun!! Thank you so much for following my pattern and I hope we can stay connected. Here’s how:
Share your work on Instagram or Facebook: Tag @leonela.diy or and use #leonela.diy or #dublinbaycrochet to show us your work!
Leave a comment: Say hello and share your feedback below.
Pin this post: Save this to your Pinterest crochet board so you can easily find it again.
Invitation To Our Facebook Group
Come discuss crocheting granny square bag patterns and lots of other crochet projects and techniques in our Dublin Bay Crochet Facebook group. This is only a new group but I hope you join and have fun sharing your work with this beautiful crochet community :) Come join us here.